Training
Hello and welcome to BeSeen. We'll walk you through a step-by-step tutorial that covers how to pair screens, upload content, create playlists, and play them on your screen.
Content overview:
- 1. Select your hardware
- 2. Download the BeSeen app on your device
- 3. Add screens
- 4. Media Library
- 5. Create playlists
- 6. Assign content to your screens
1. Select your hardware
BeSeen works on most multimedia devices, providing a convenient and flexible solution for displaying your digital ads. We support almost all Android devices, from smart TVs, tablets and phones.
Here are some examples of supported devices:
 Android TV
- Xiaomi Mi Stick
- Xiaomi Mi Box
- Samsung Galaxy Tab
- Google Chromecast with Google TV
- Philips D-Line Professional Displays
- Sony Professional Displays
- Other compatible Android devices
You can find most of these devices in better equipped hardware stores.
2. Download the BeSeen app on your device
2.1. Once you have purchased your hardware, you can download the BeSeen app in two ways, through the Google Play Store or by directly downloading the app.
2.1.a Installation via Google Play Store: in order to download the application to your device through the Google Play Store, you need to type "BeSeen" in the store search and click "Install".
2.1.b Manual installation: type https://beseen.cloud/app.apk in the browser on your Android device to directly download the app or click the "BeSeen APK" button below.
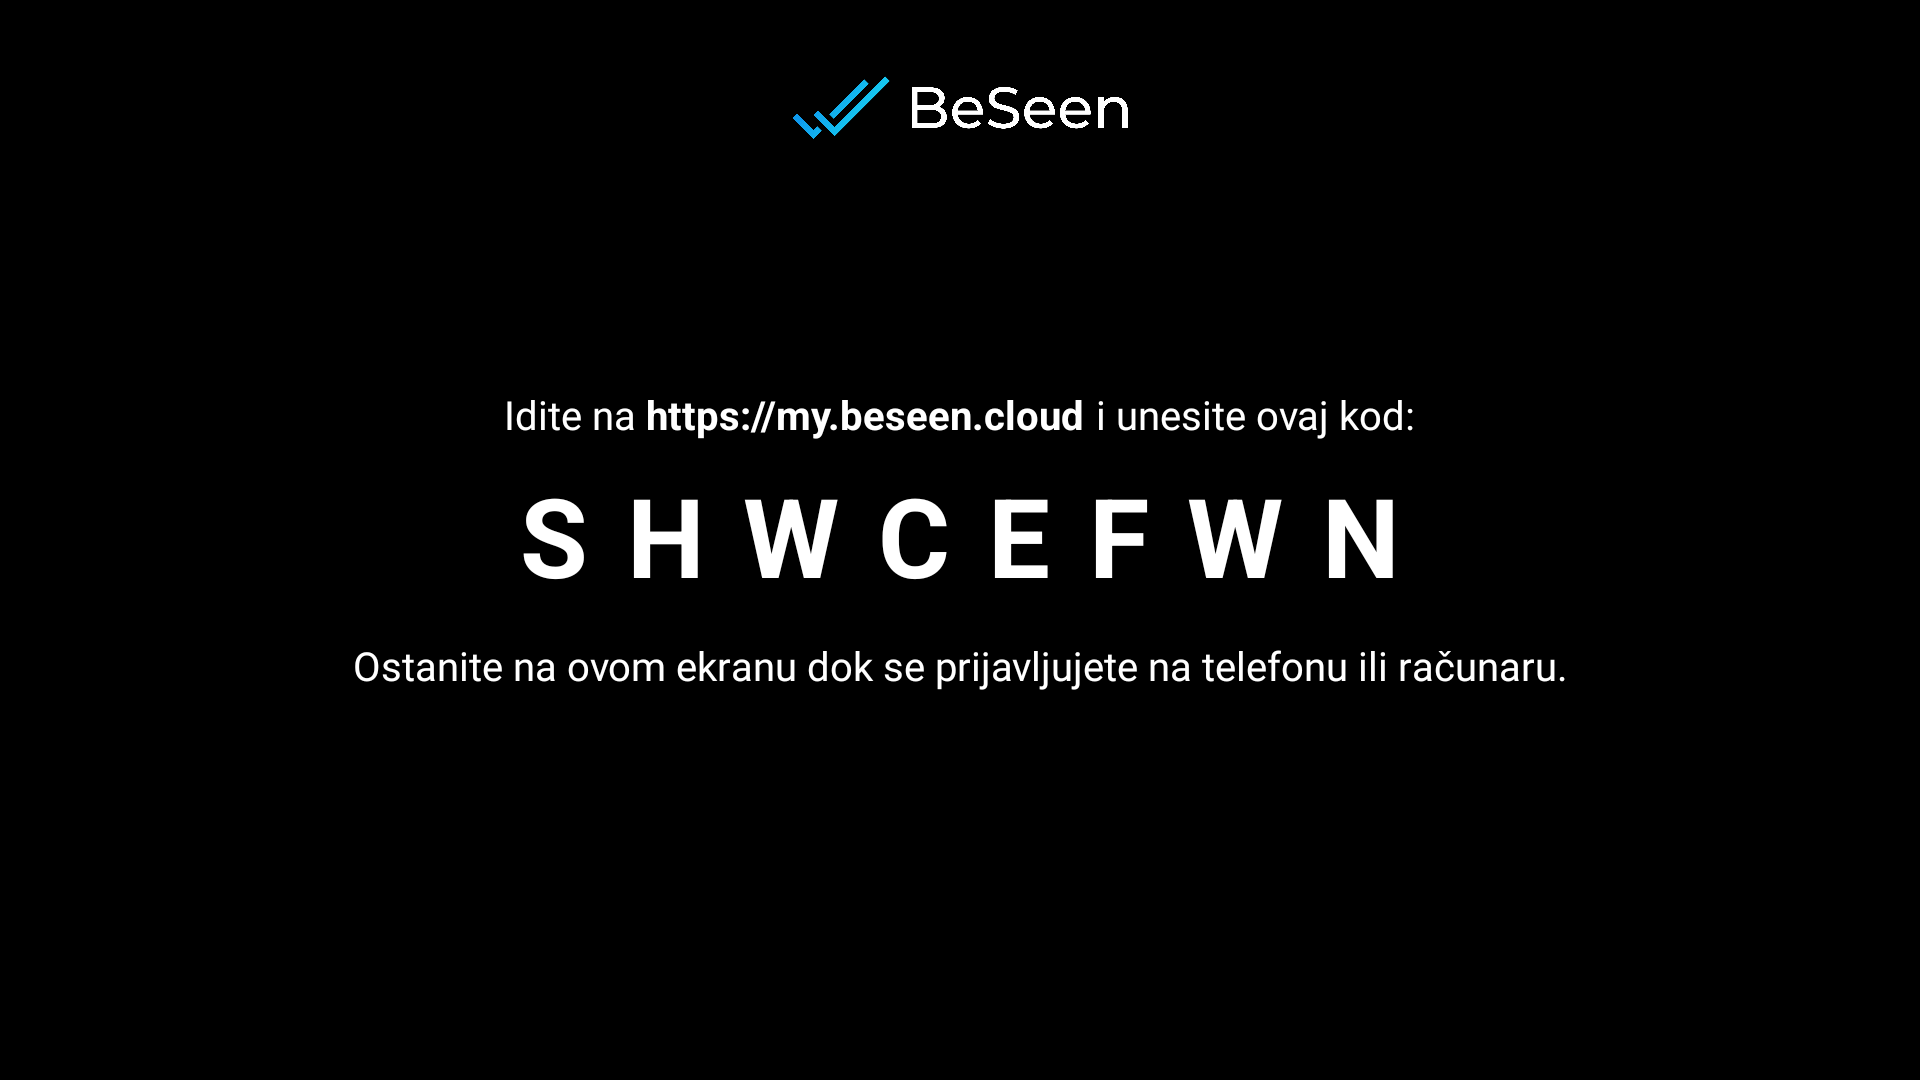
2.2. After you download and install the BeSeen app on your device, launch it to see the Pairing Code that will be used to link the display to your account at https://my.beseen.cloud/screens.html
3. Add screens
After downloading the BeSeen app to your device, the next step is to add a screen and use the Pairing Code to match the one shown on the screen.
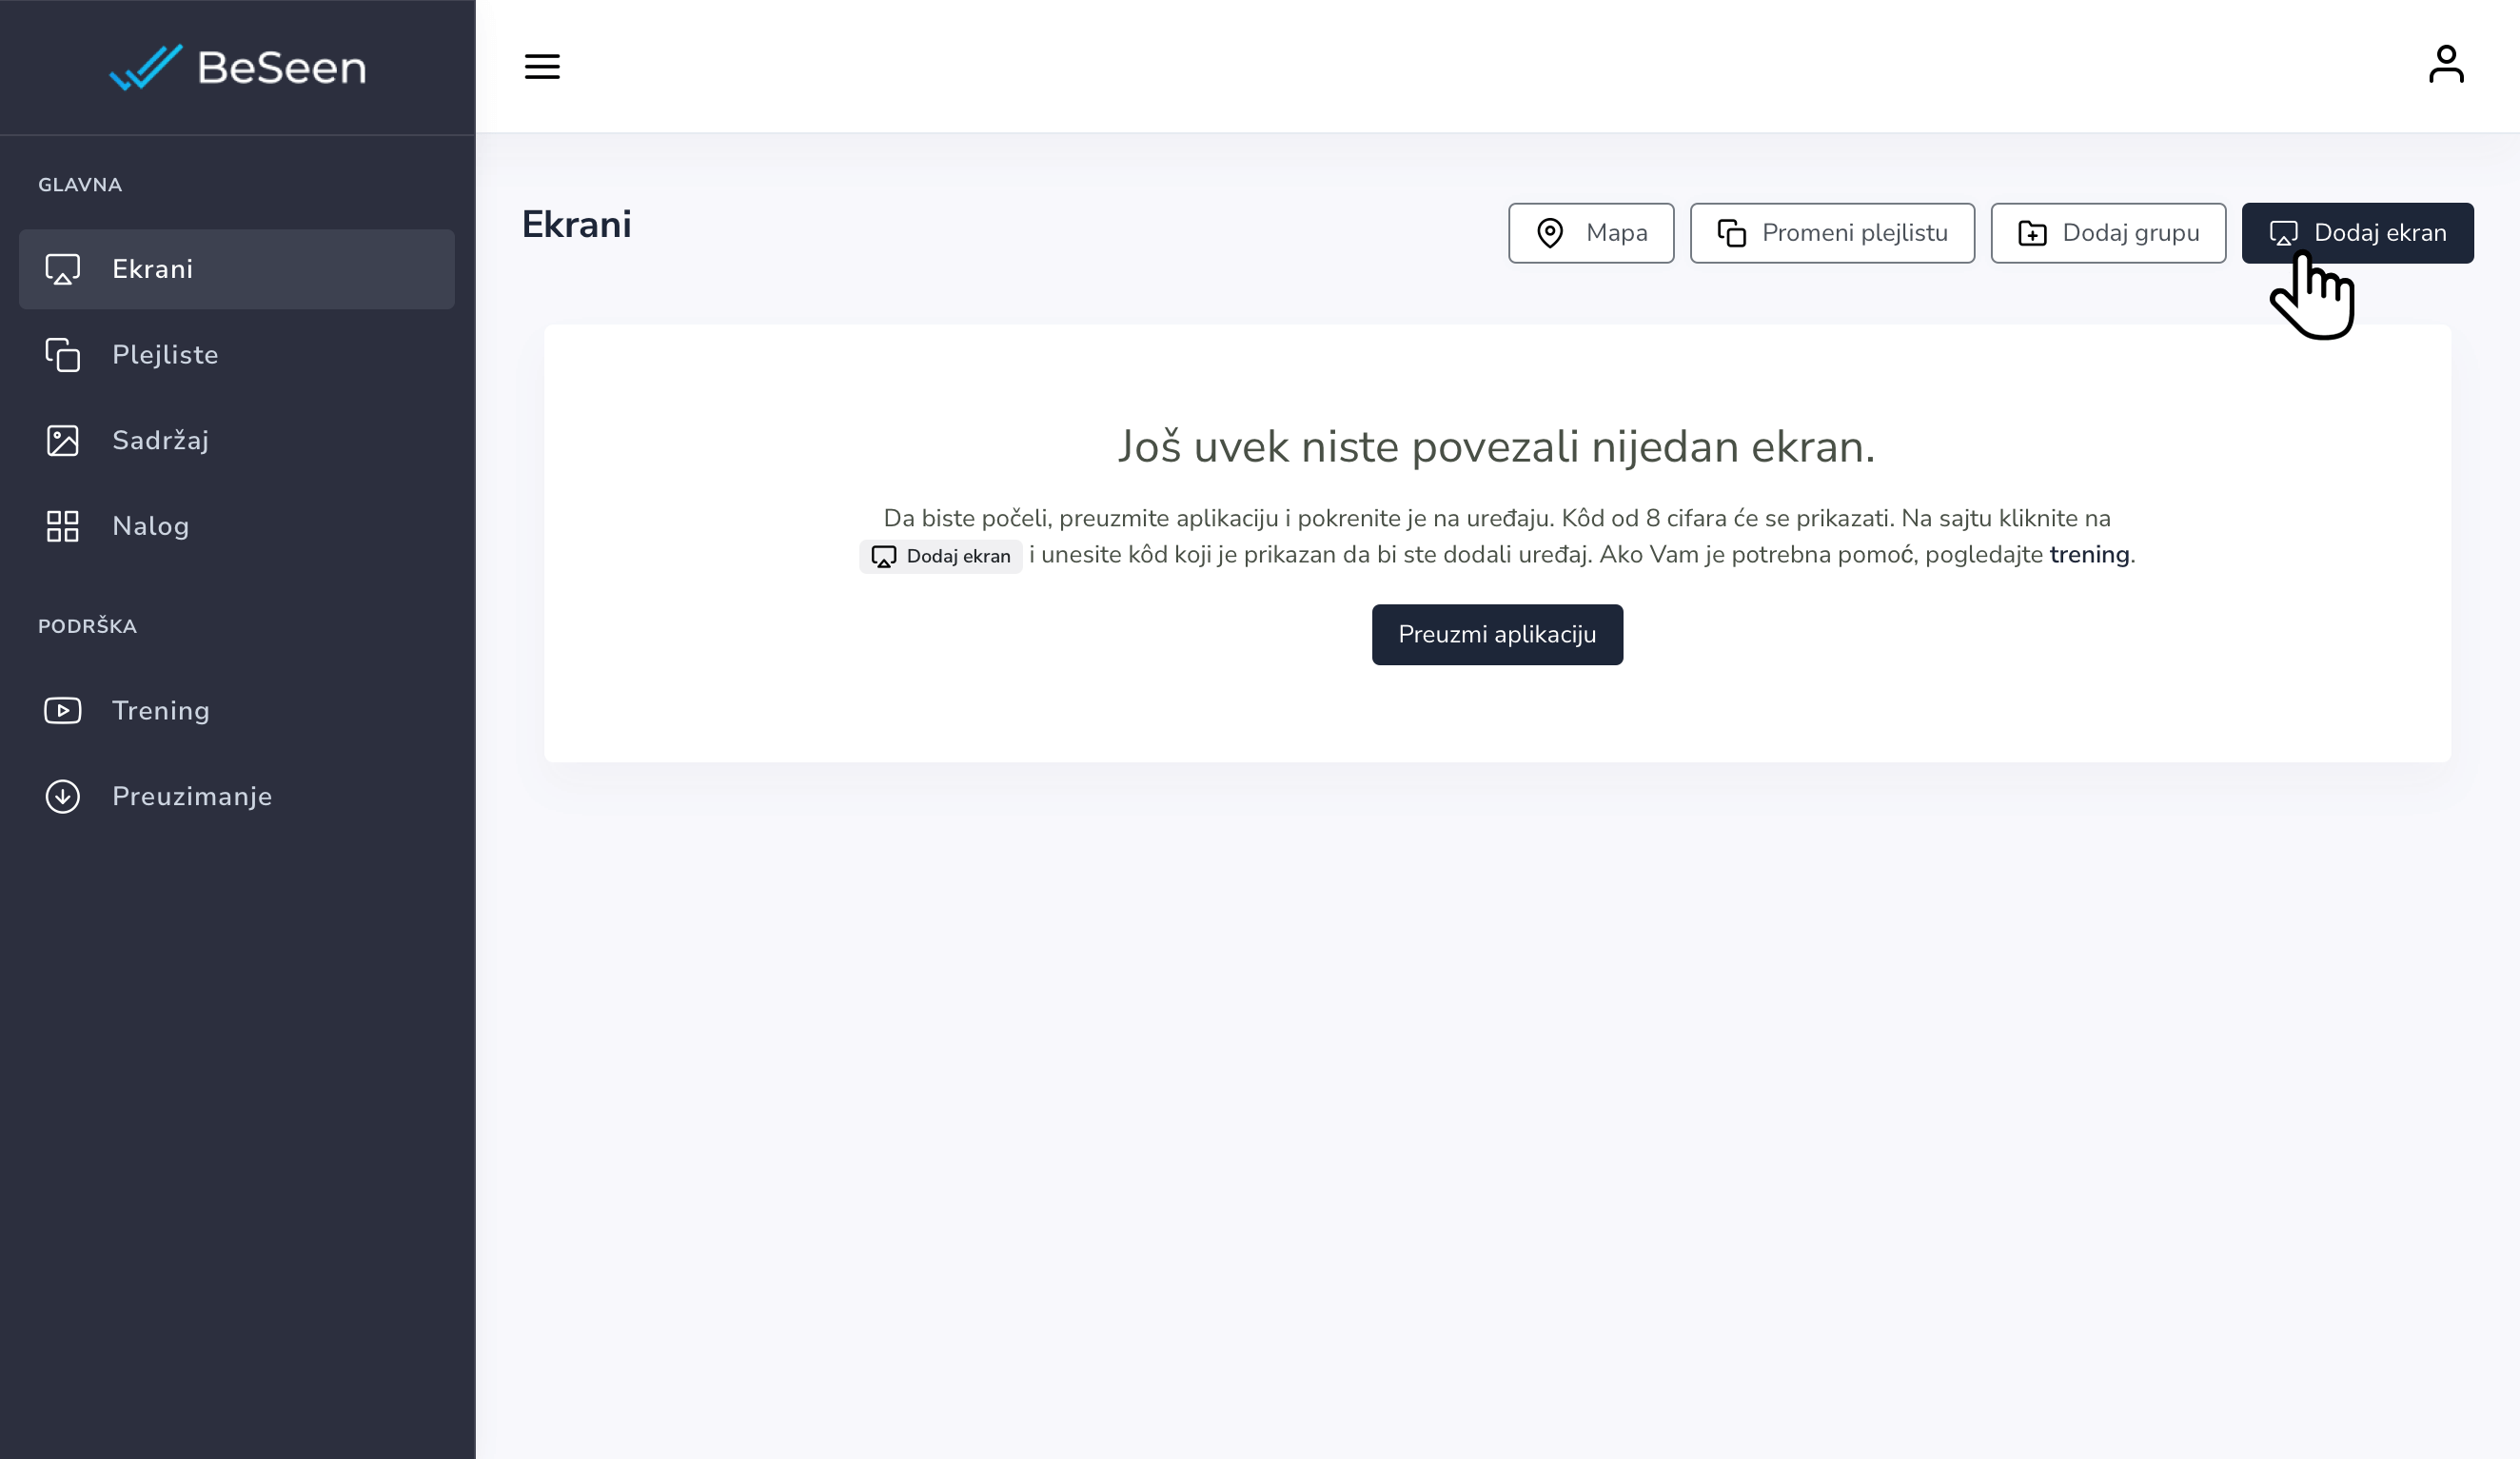
3.1. Visit the "Screens" section in the left menu of your BeSeen account. After that, you can click "Add Screen" to get started.
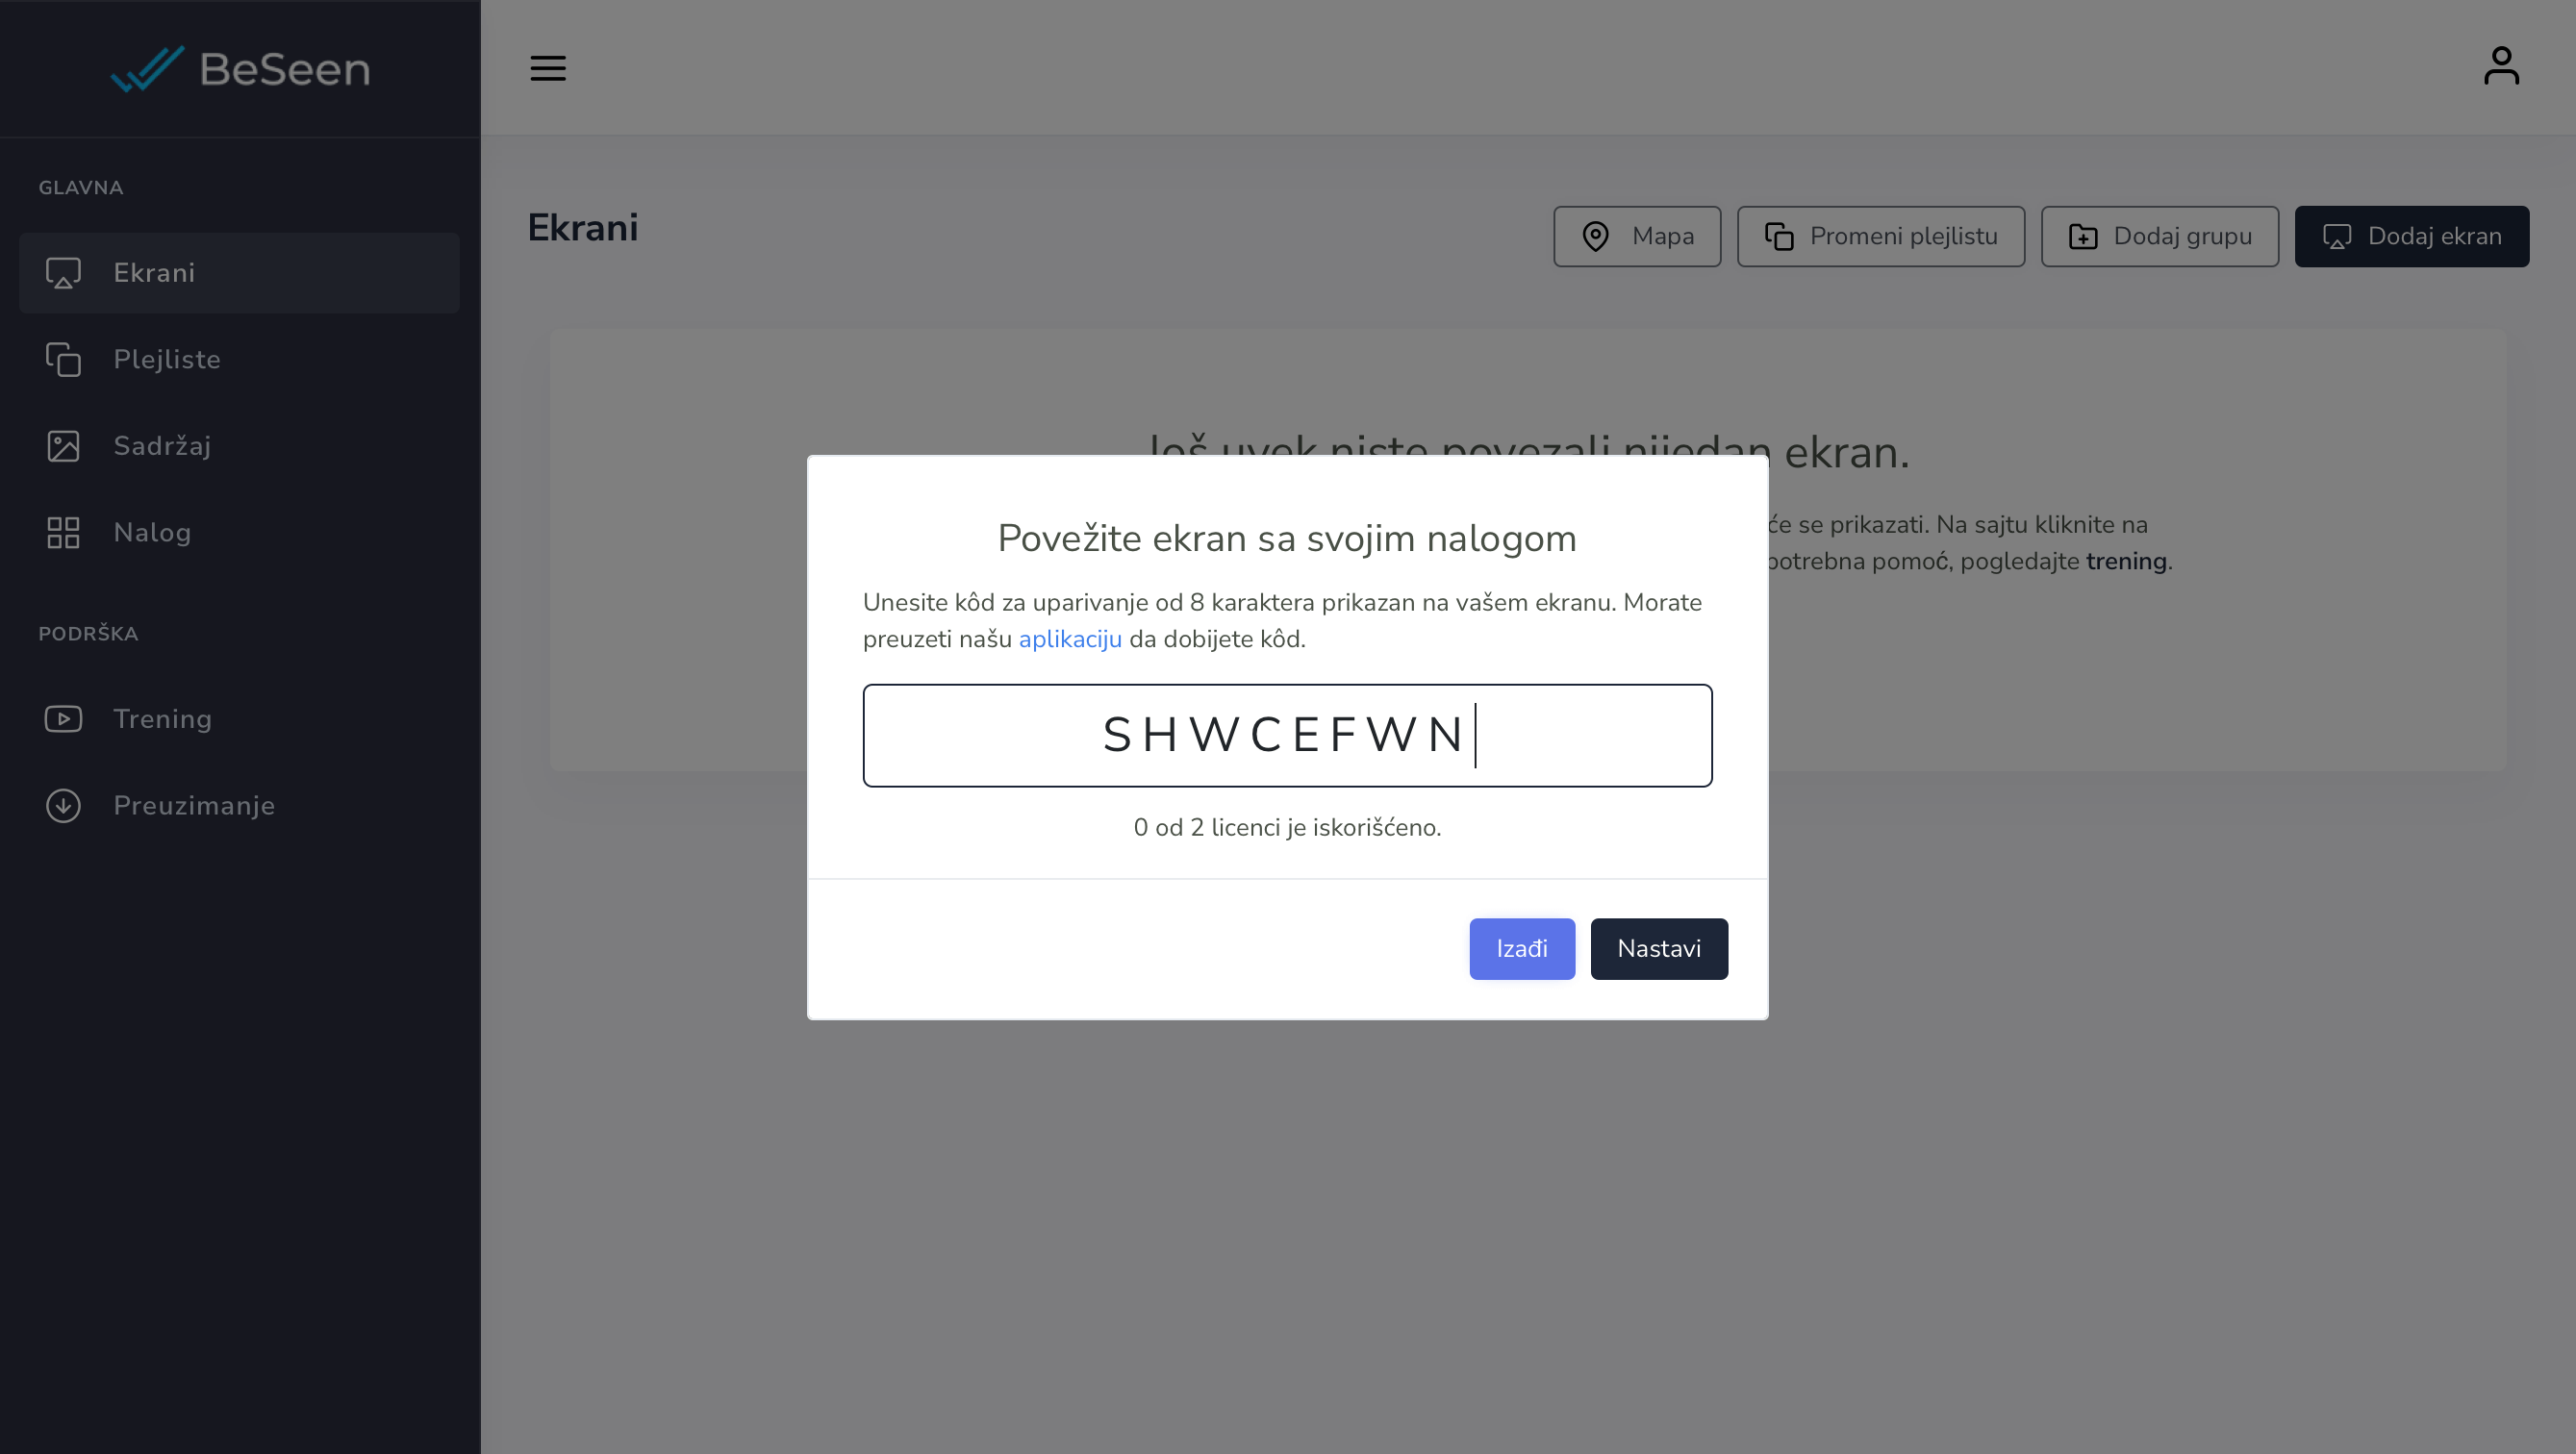
3.2. Next, enter your 8-character Pairing Code exactly as it appears on the screen.
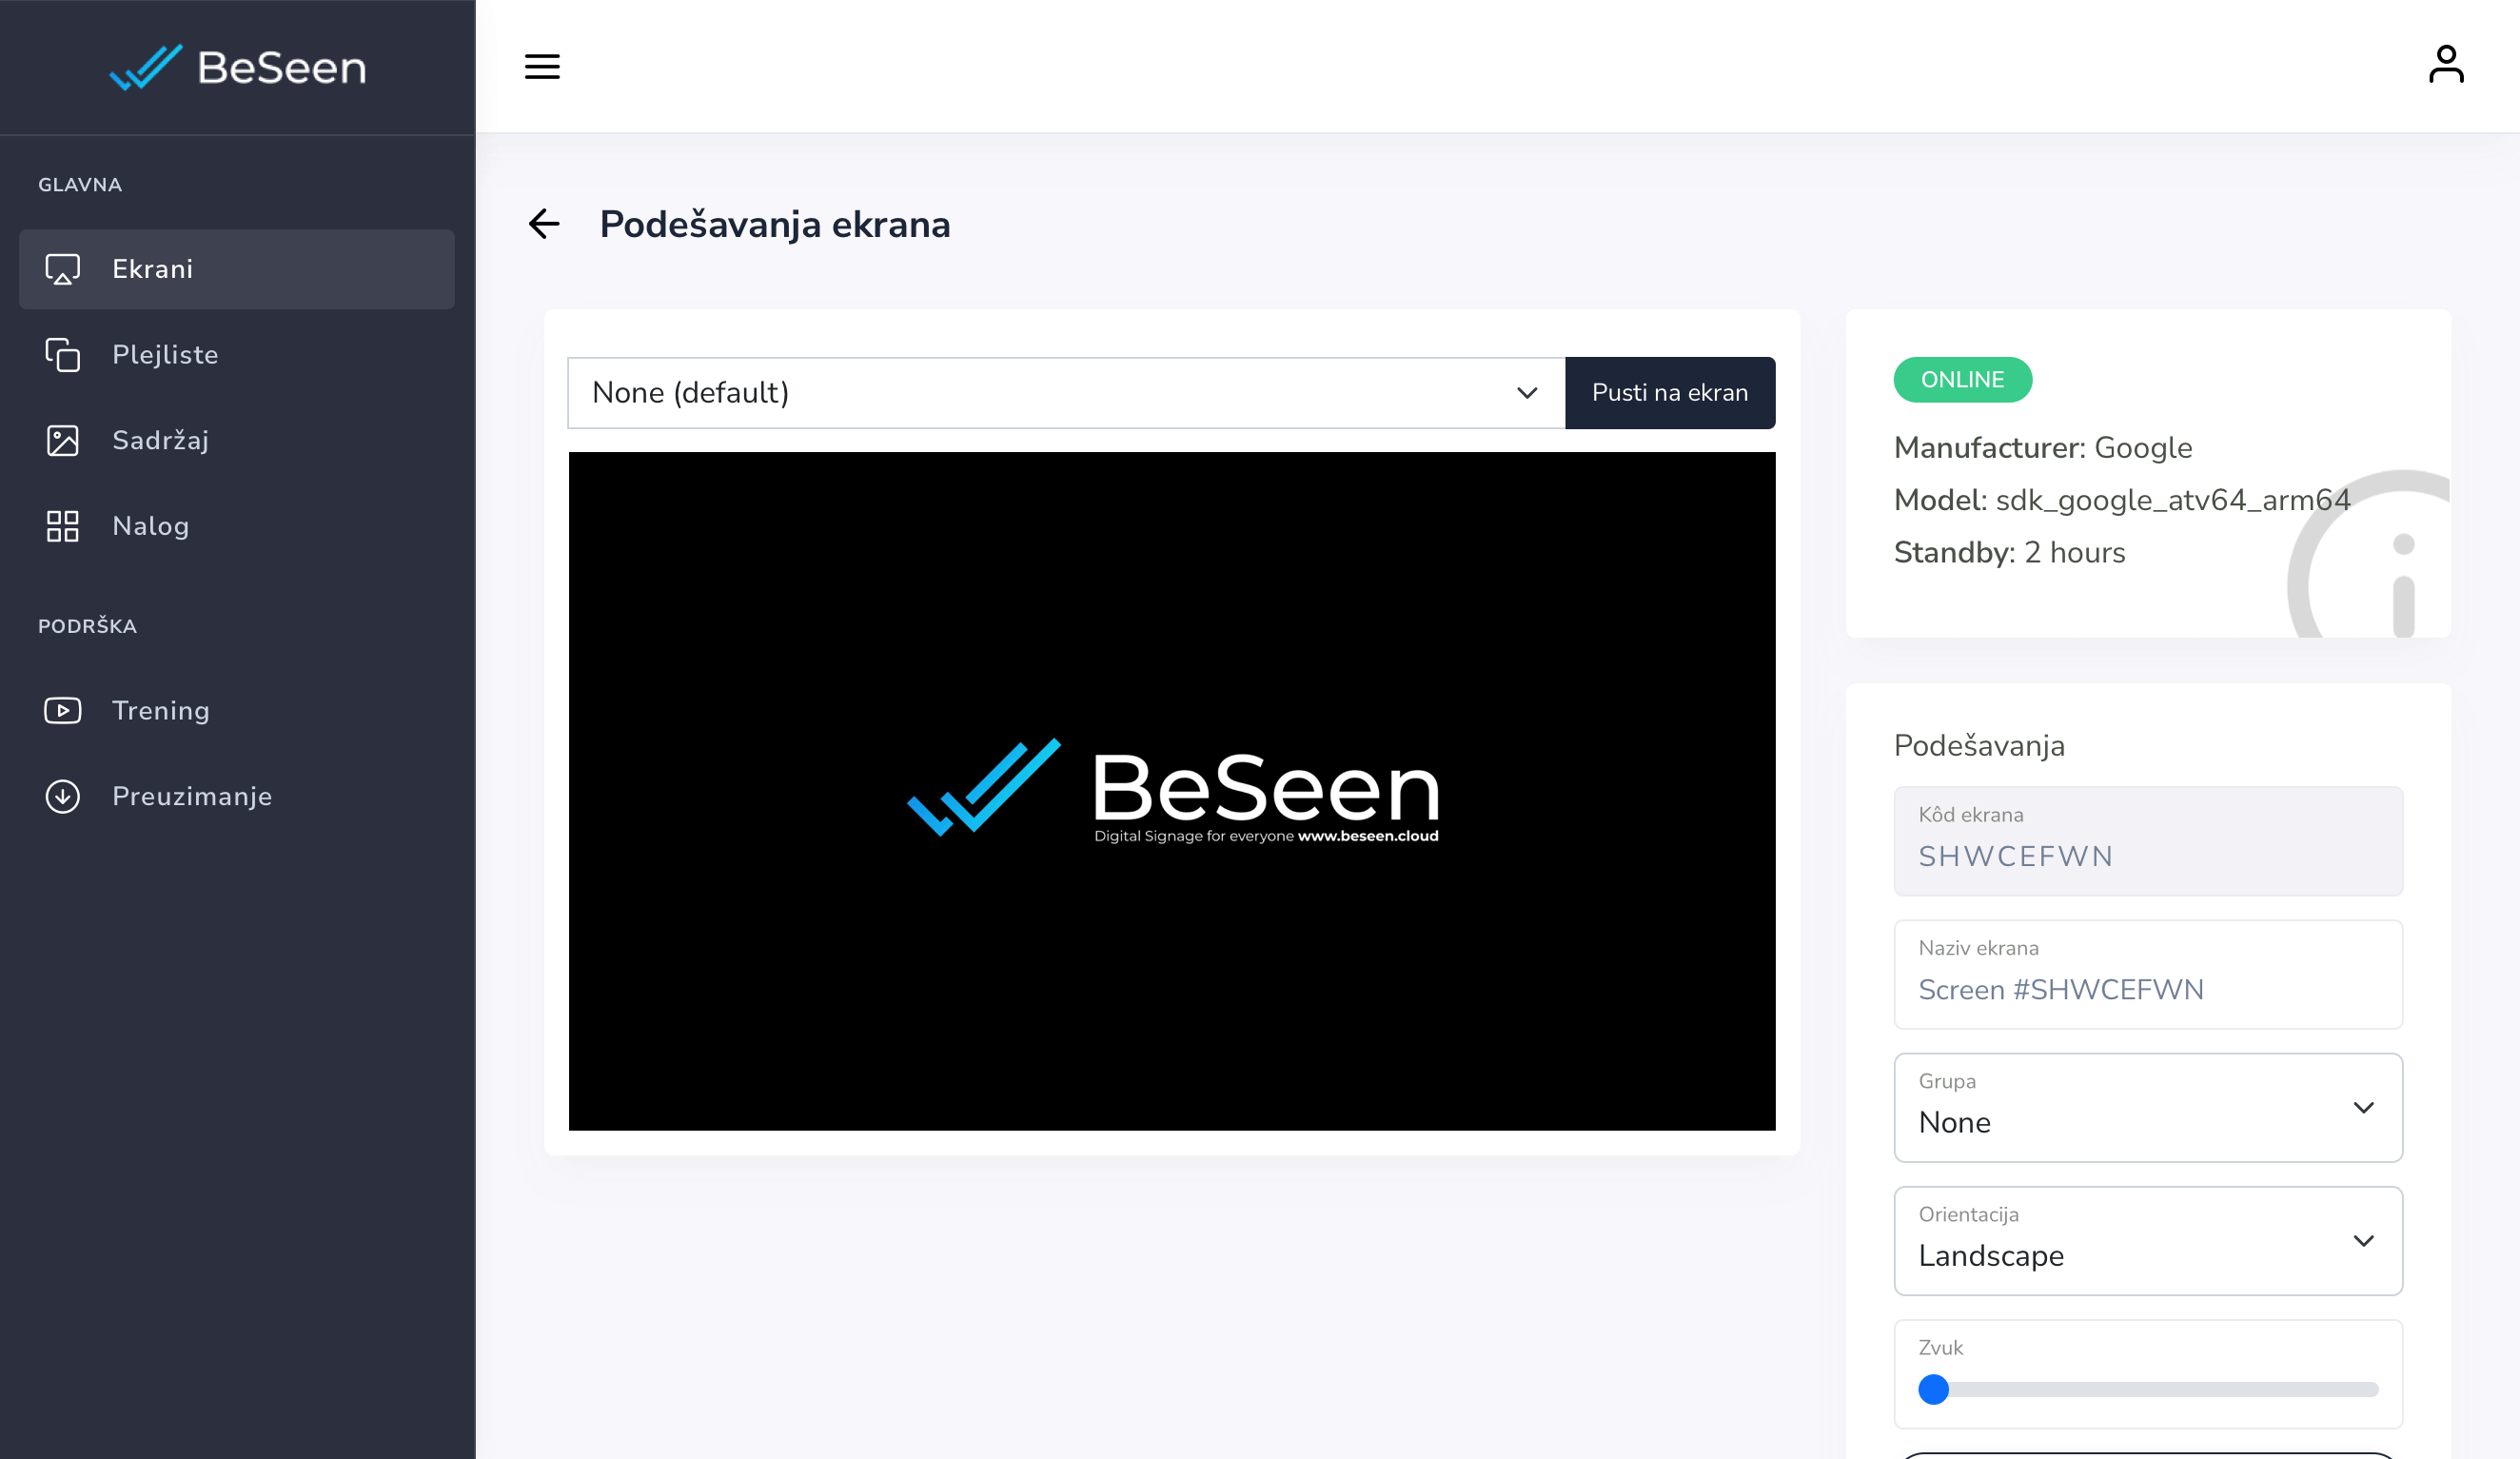
3.3 If the Pairing Code is correct, the window will reload with information about your BeSeen player, and on the right hand side, it will provide you with options to adjust the display.
4. Media Library
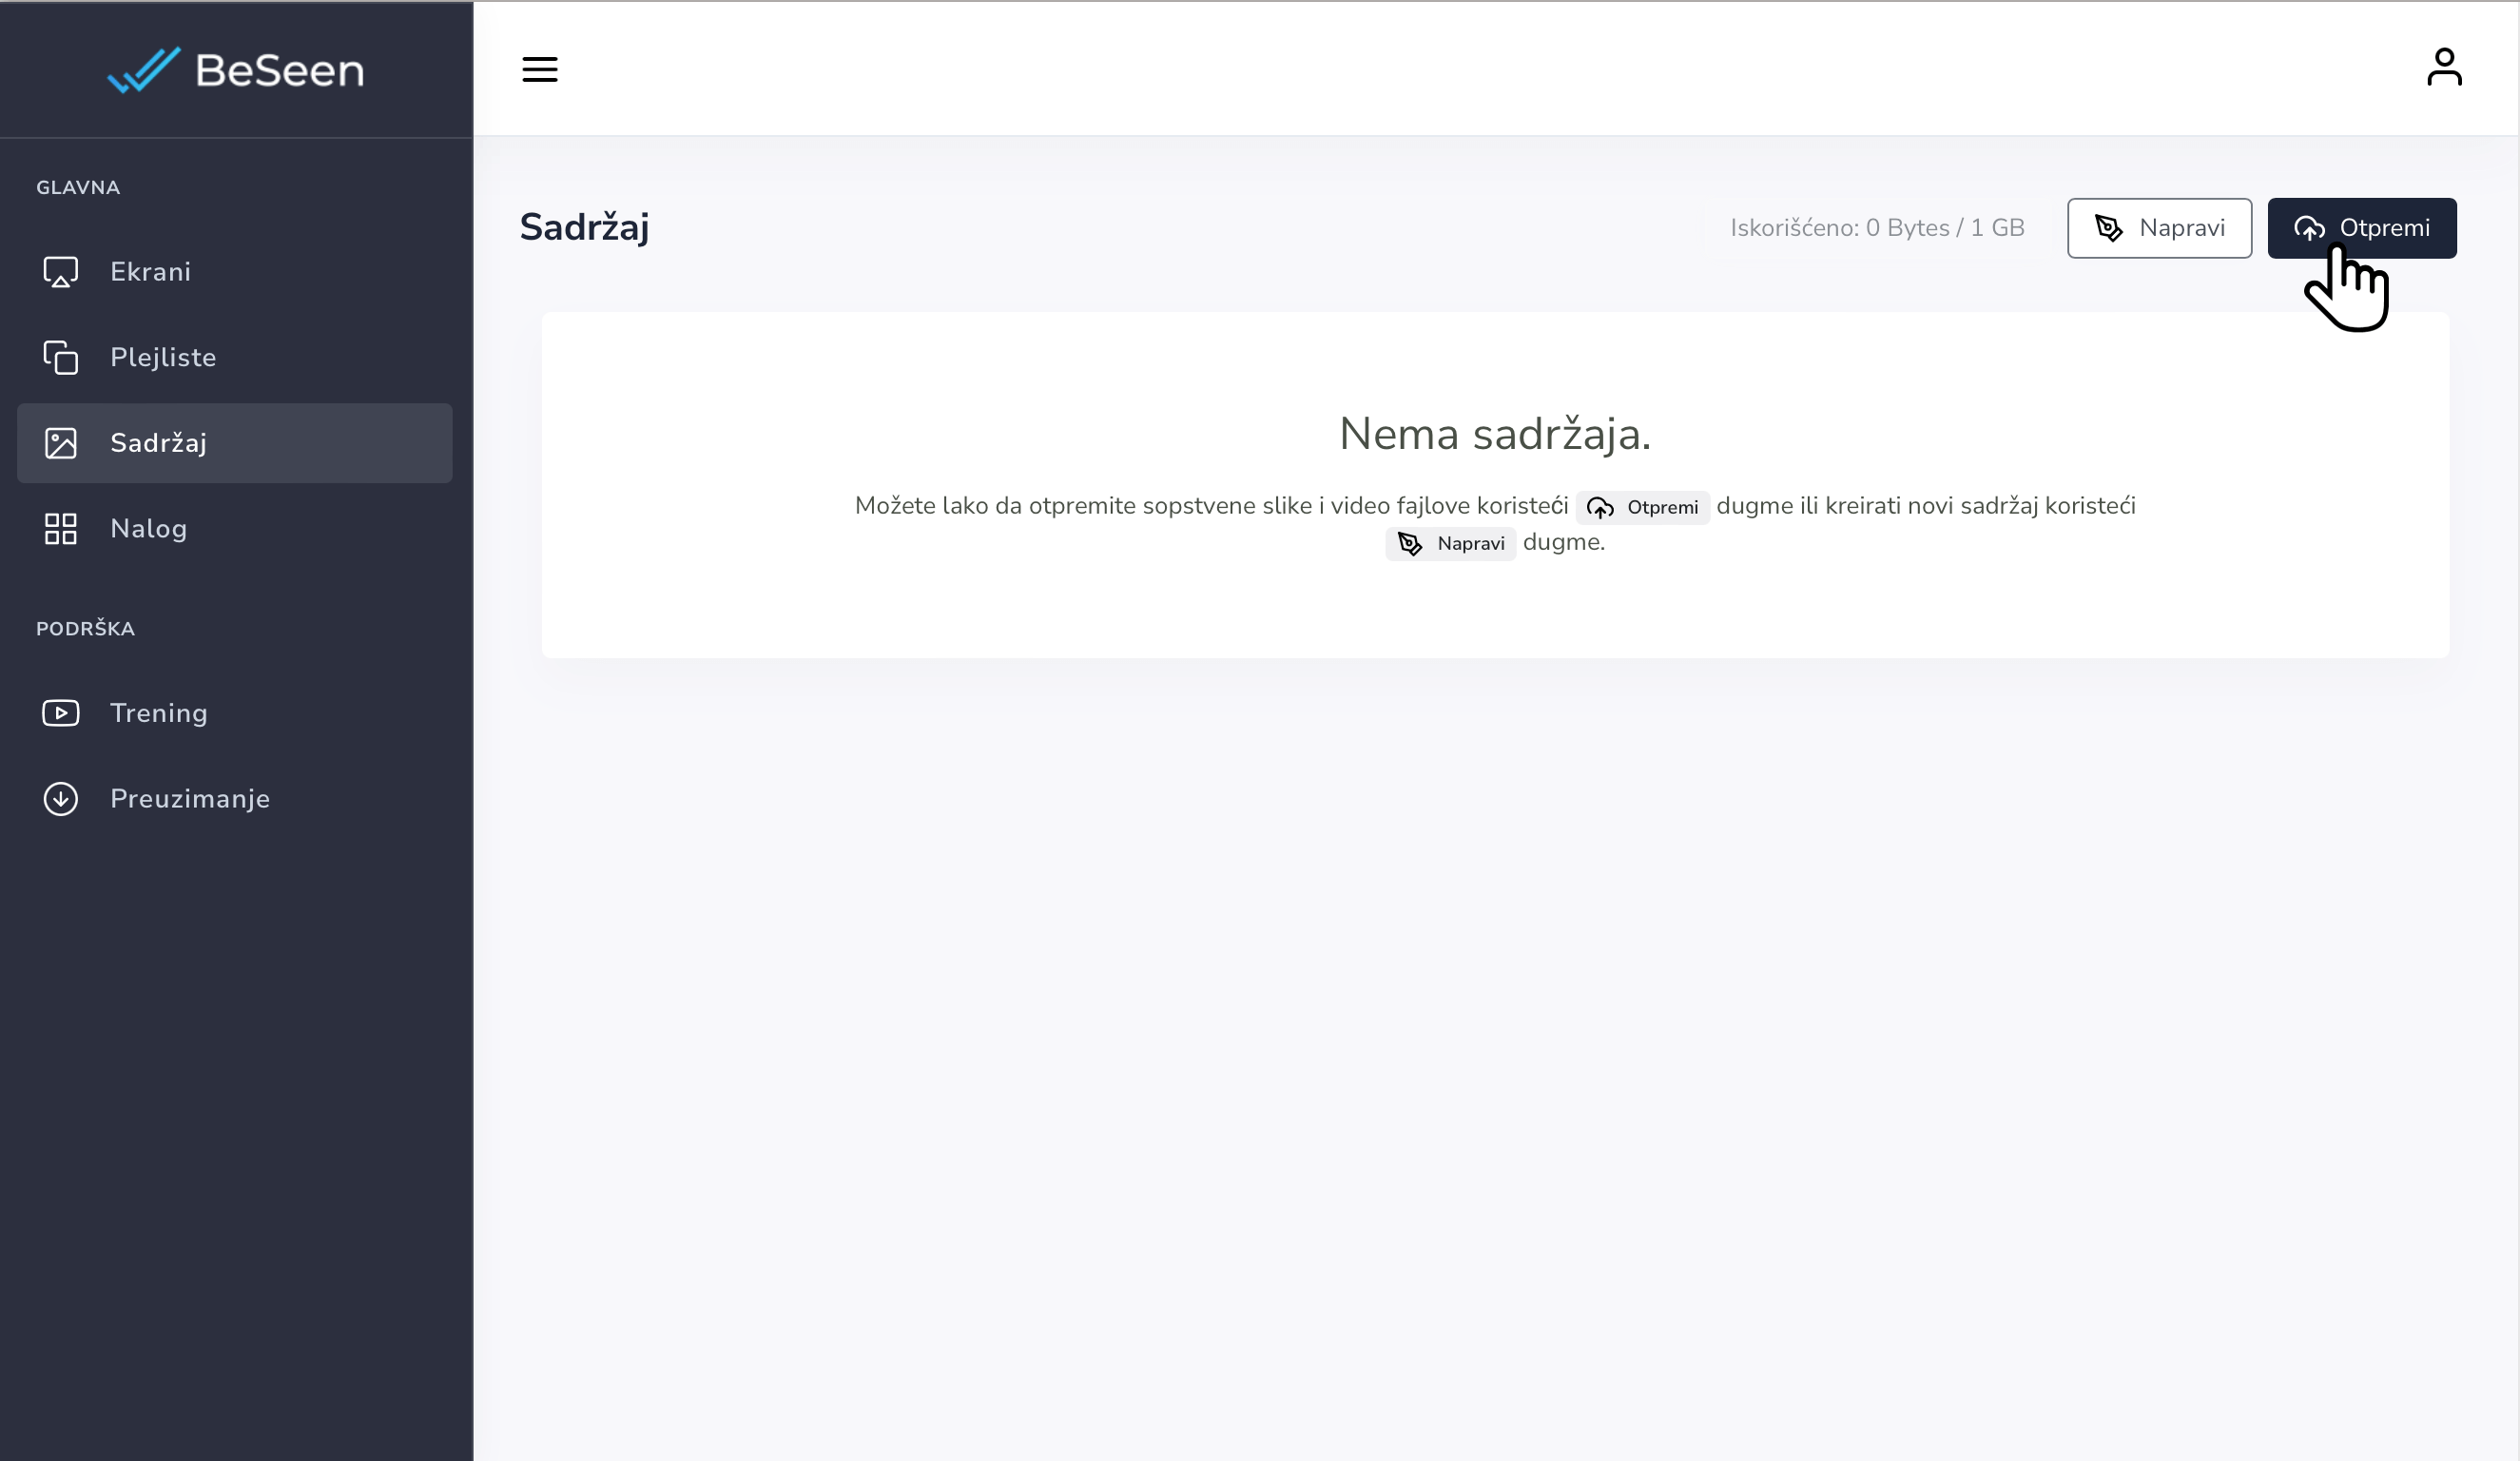
4.1 Get started by uploading content to your media library. Visit the "Media" section in the left menu of your BeSeen account.
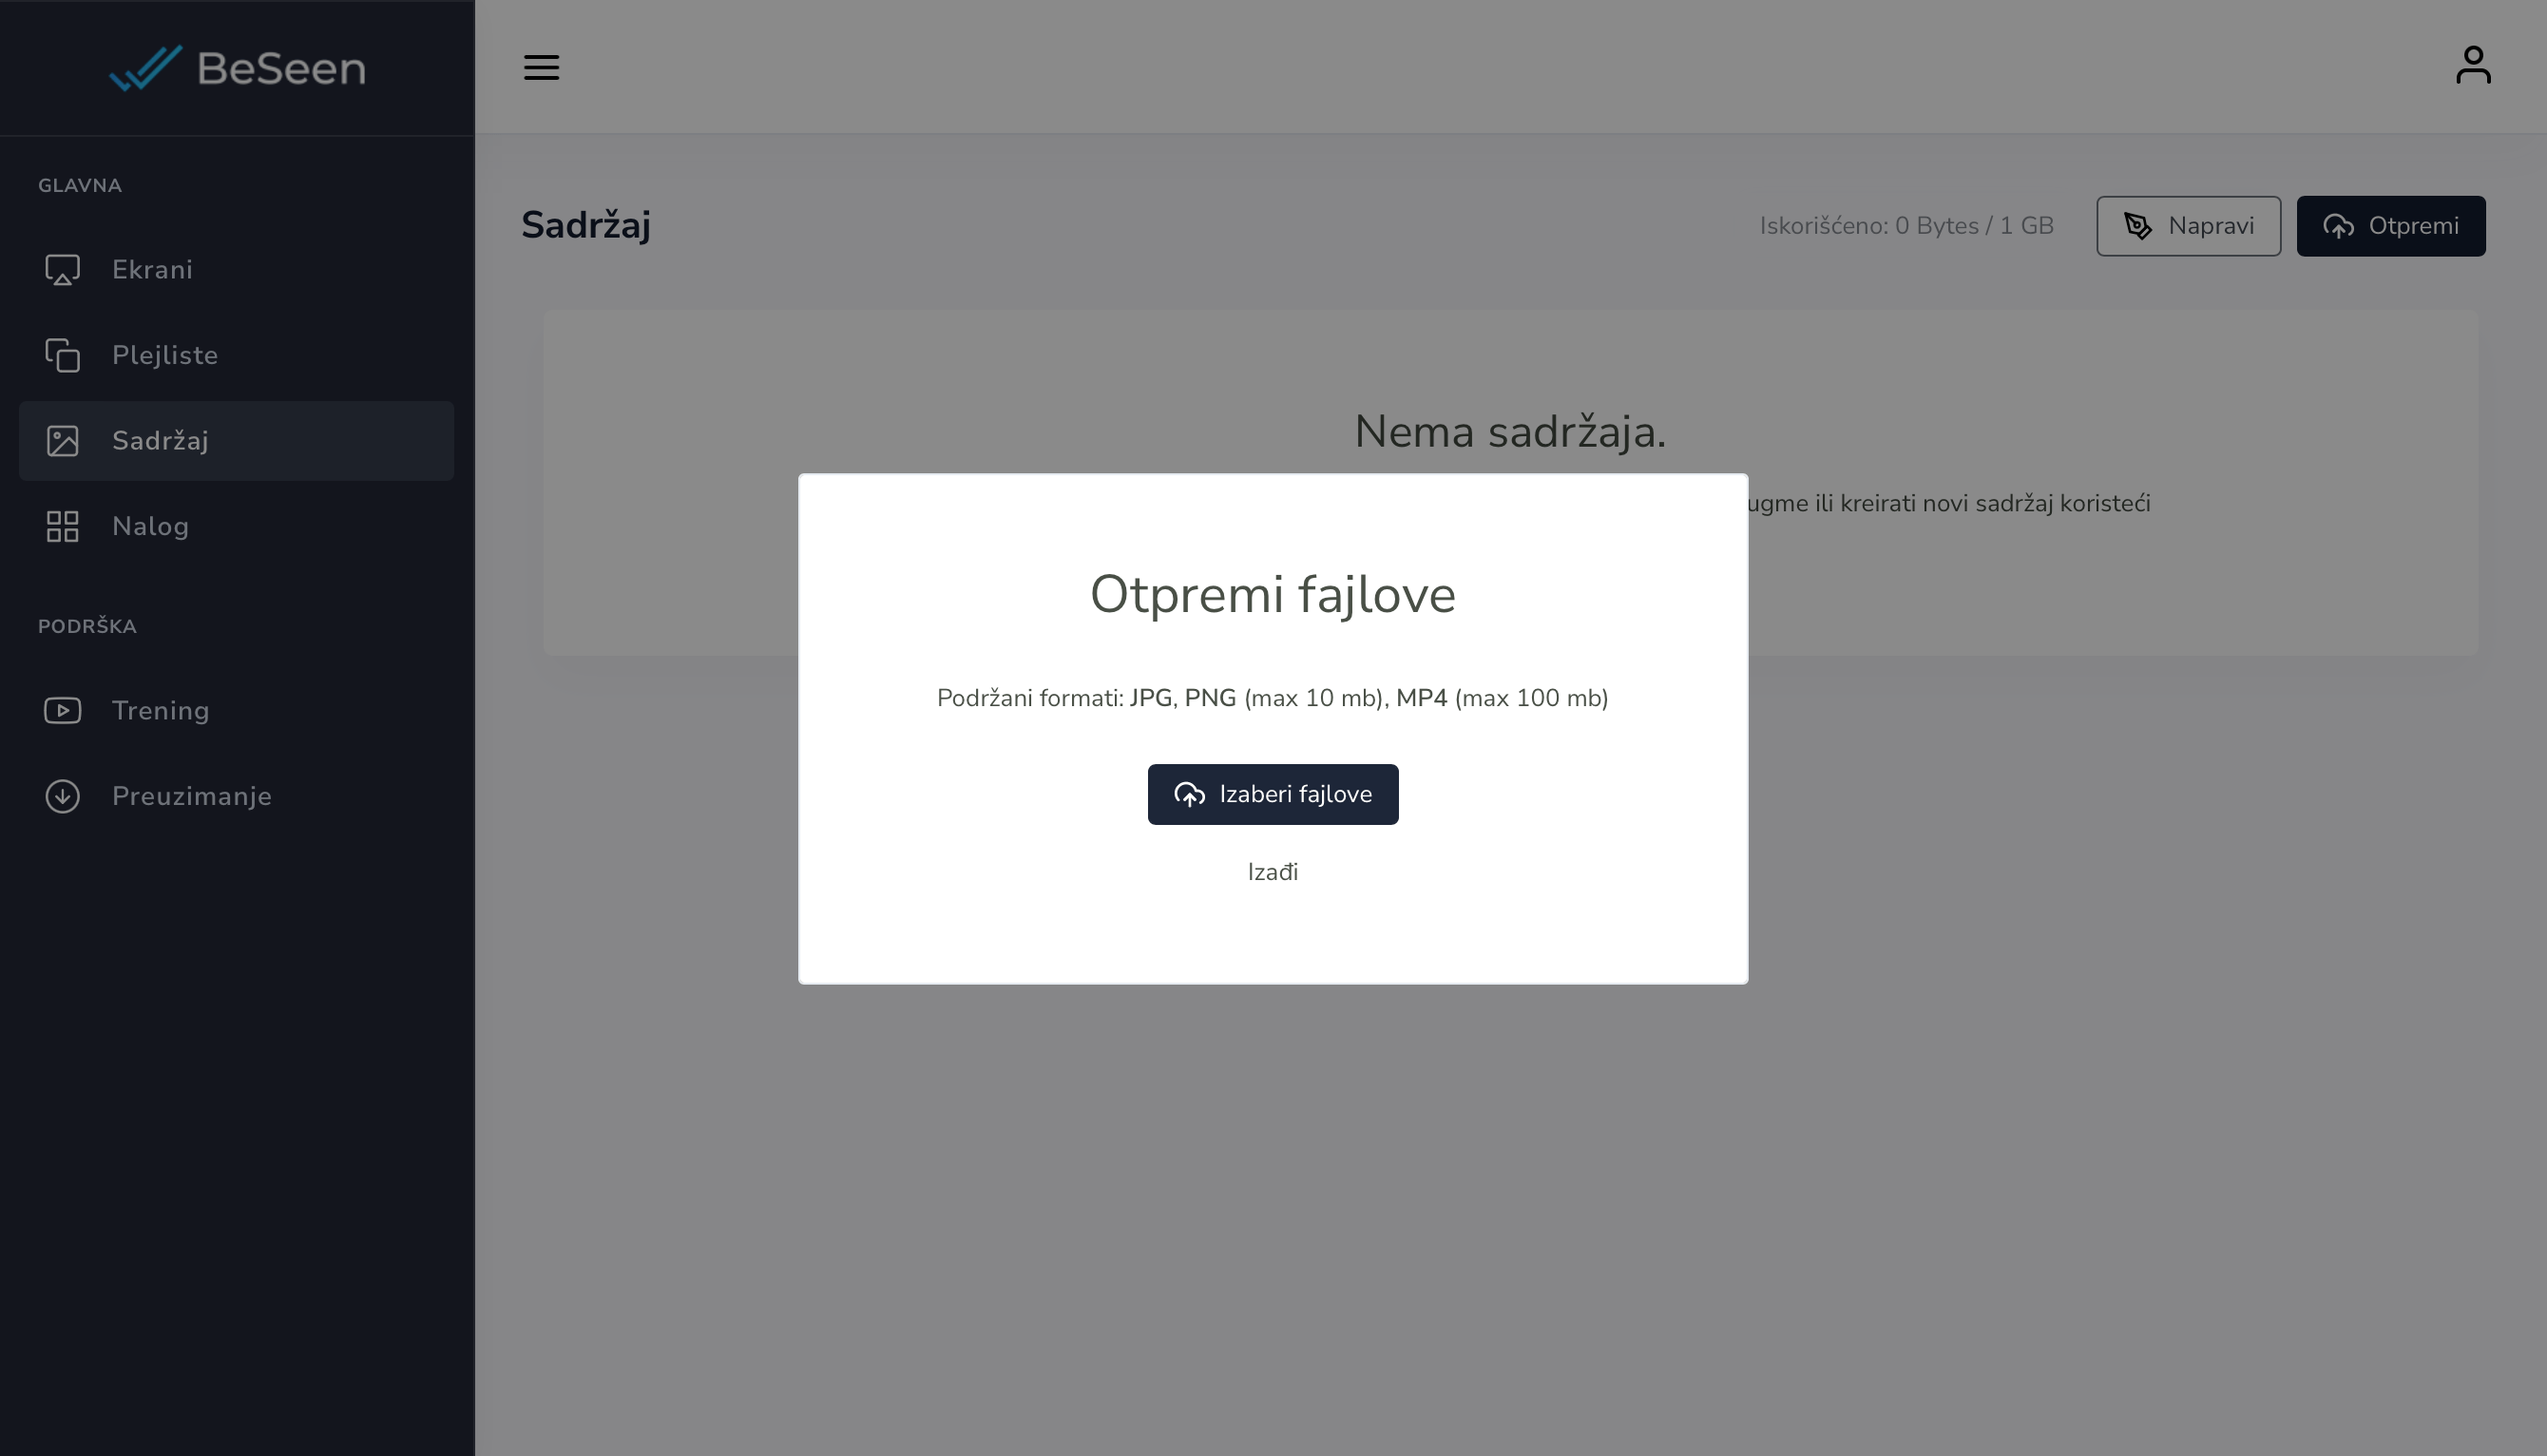
4.2. Click the "Upload" button and you can start uploading your media. The following formats are supported: .PNG/.JPG/.JPEG (up to 10mb) and .MP4 (up to 100mb)
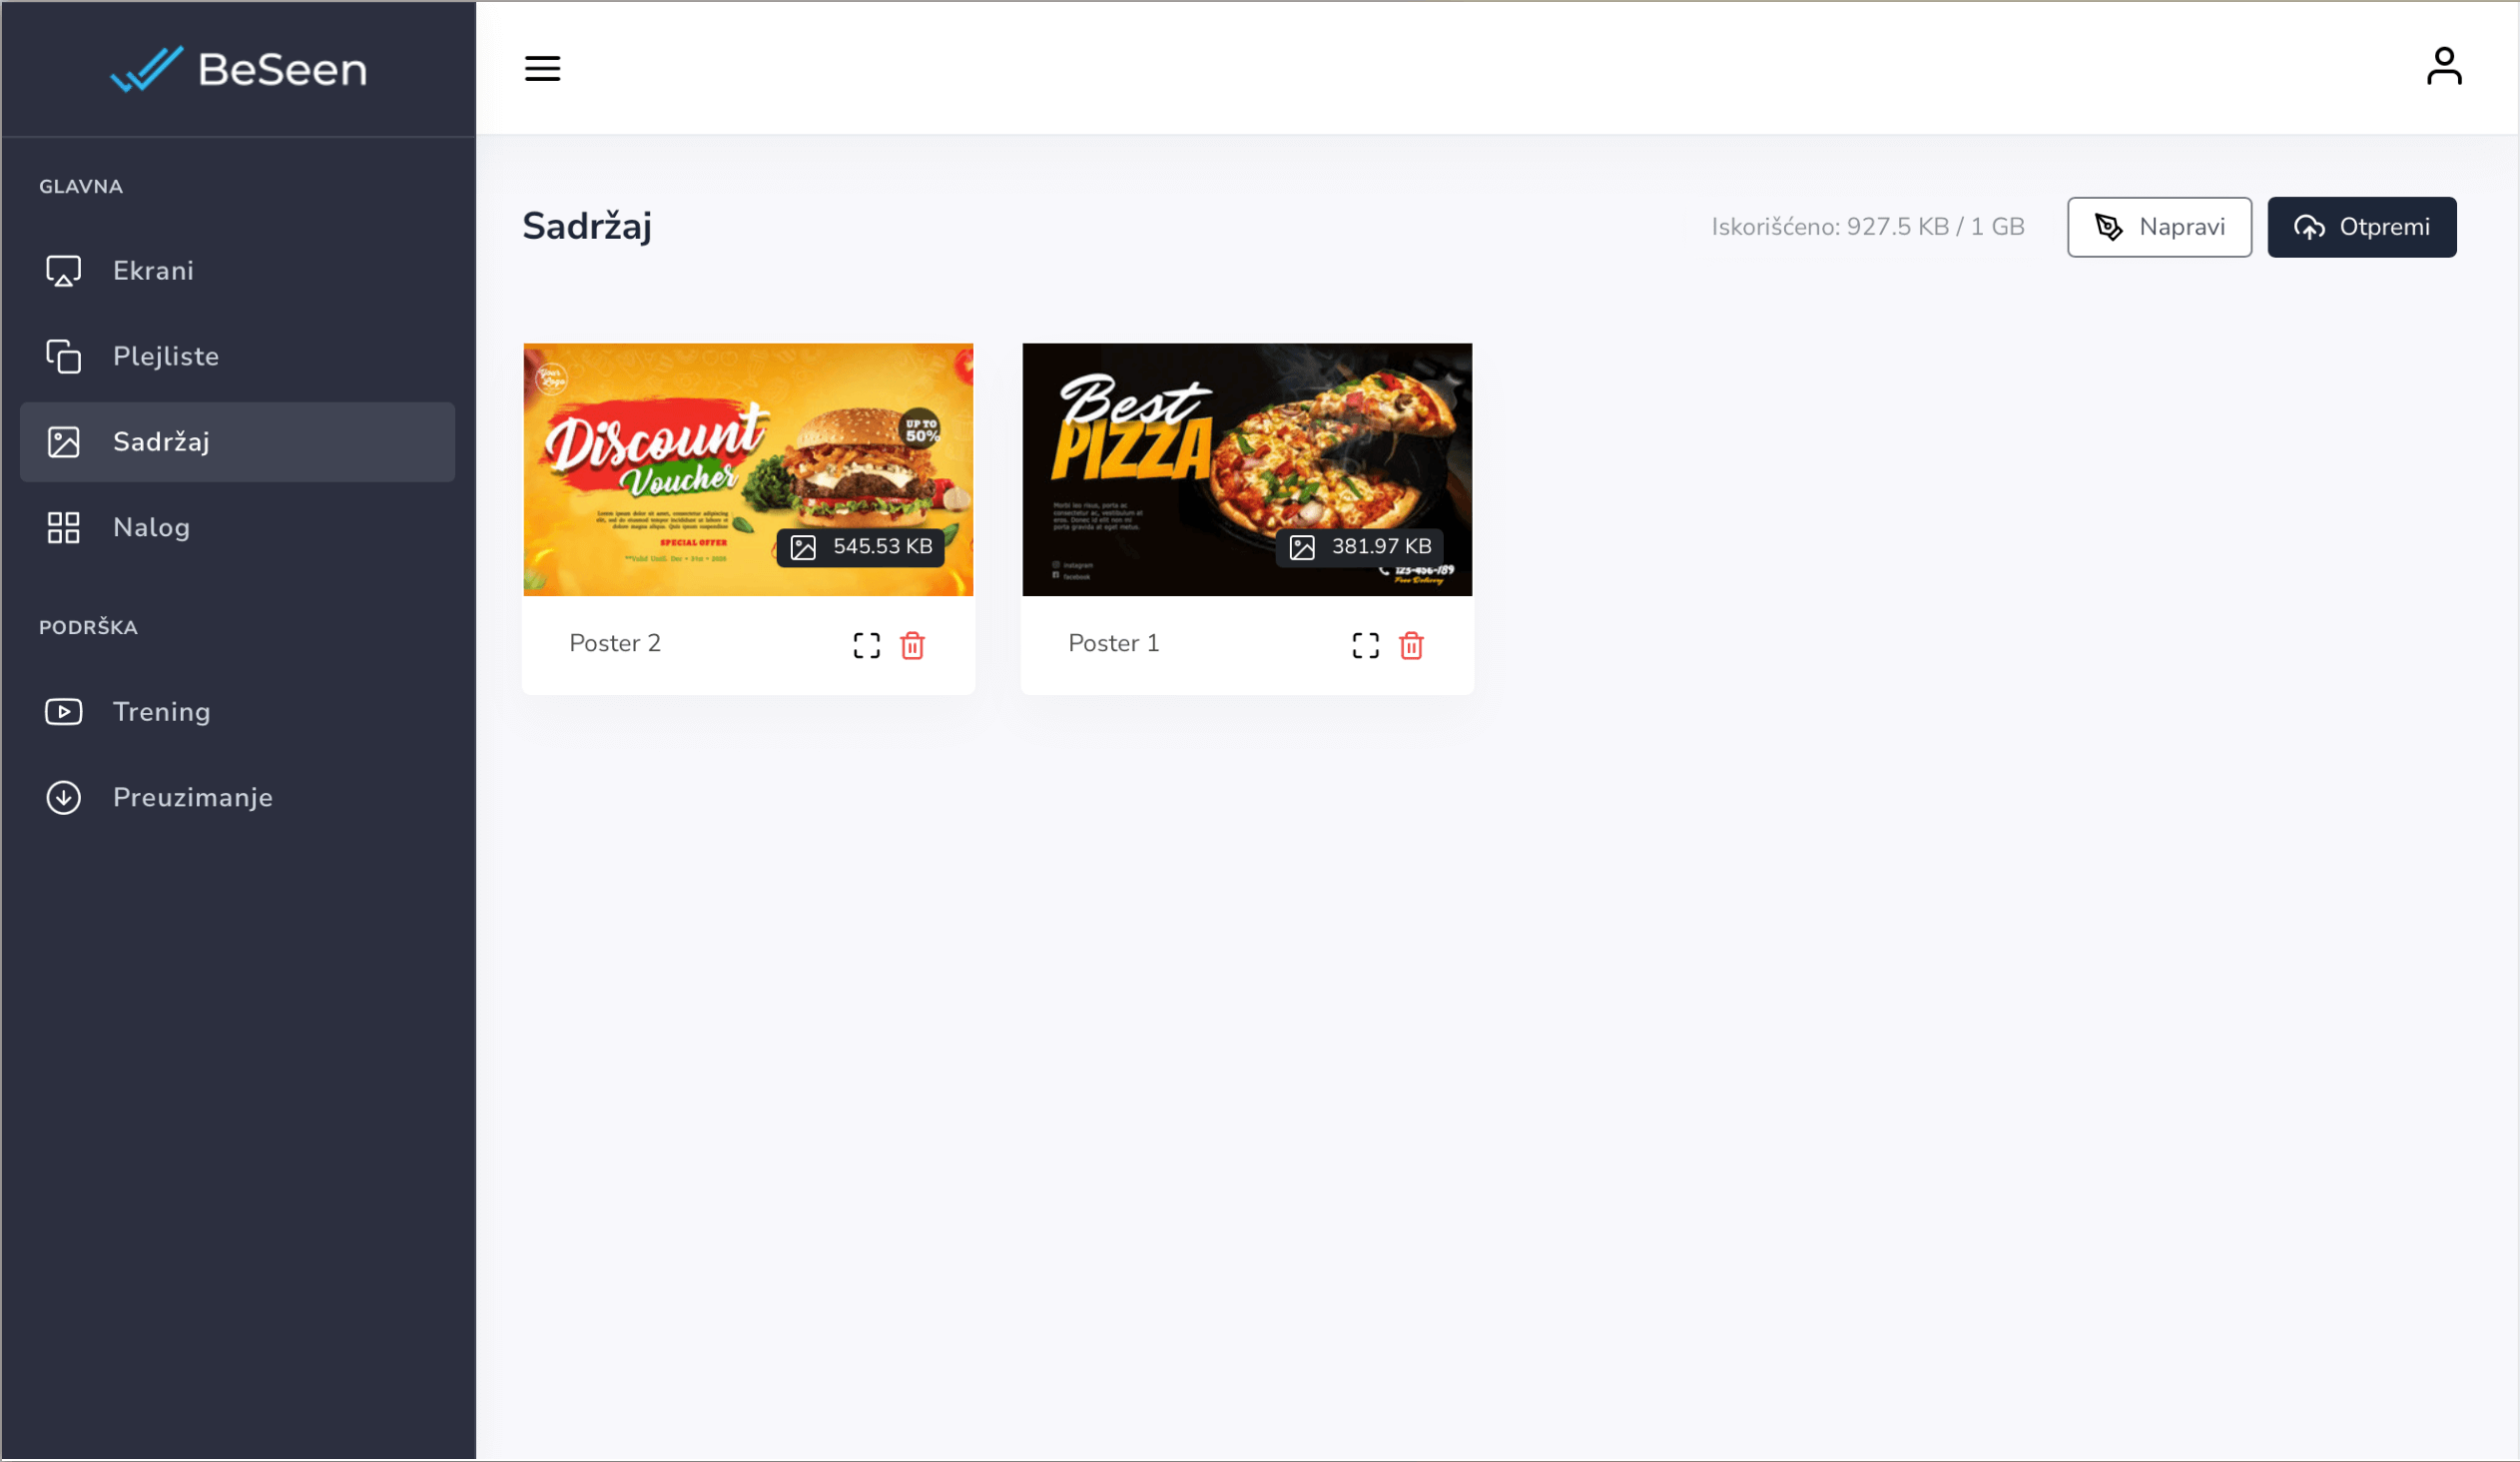
4.3.After you upload the content, it will be available for use in your media library.
5. Create playlists
Playlists are used to organize your content and play everything in the order you want to see it on screen.
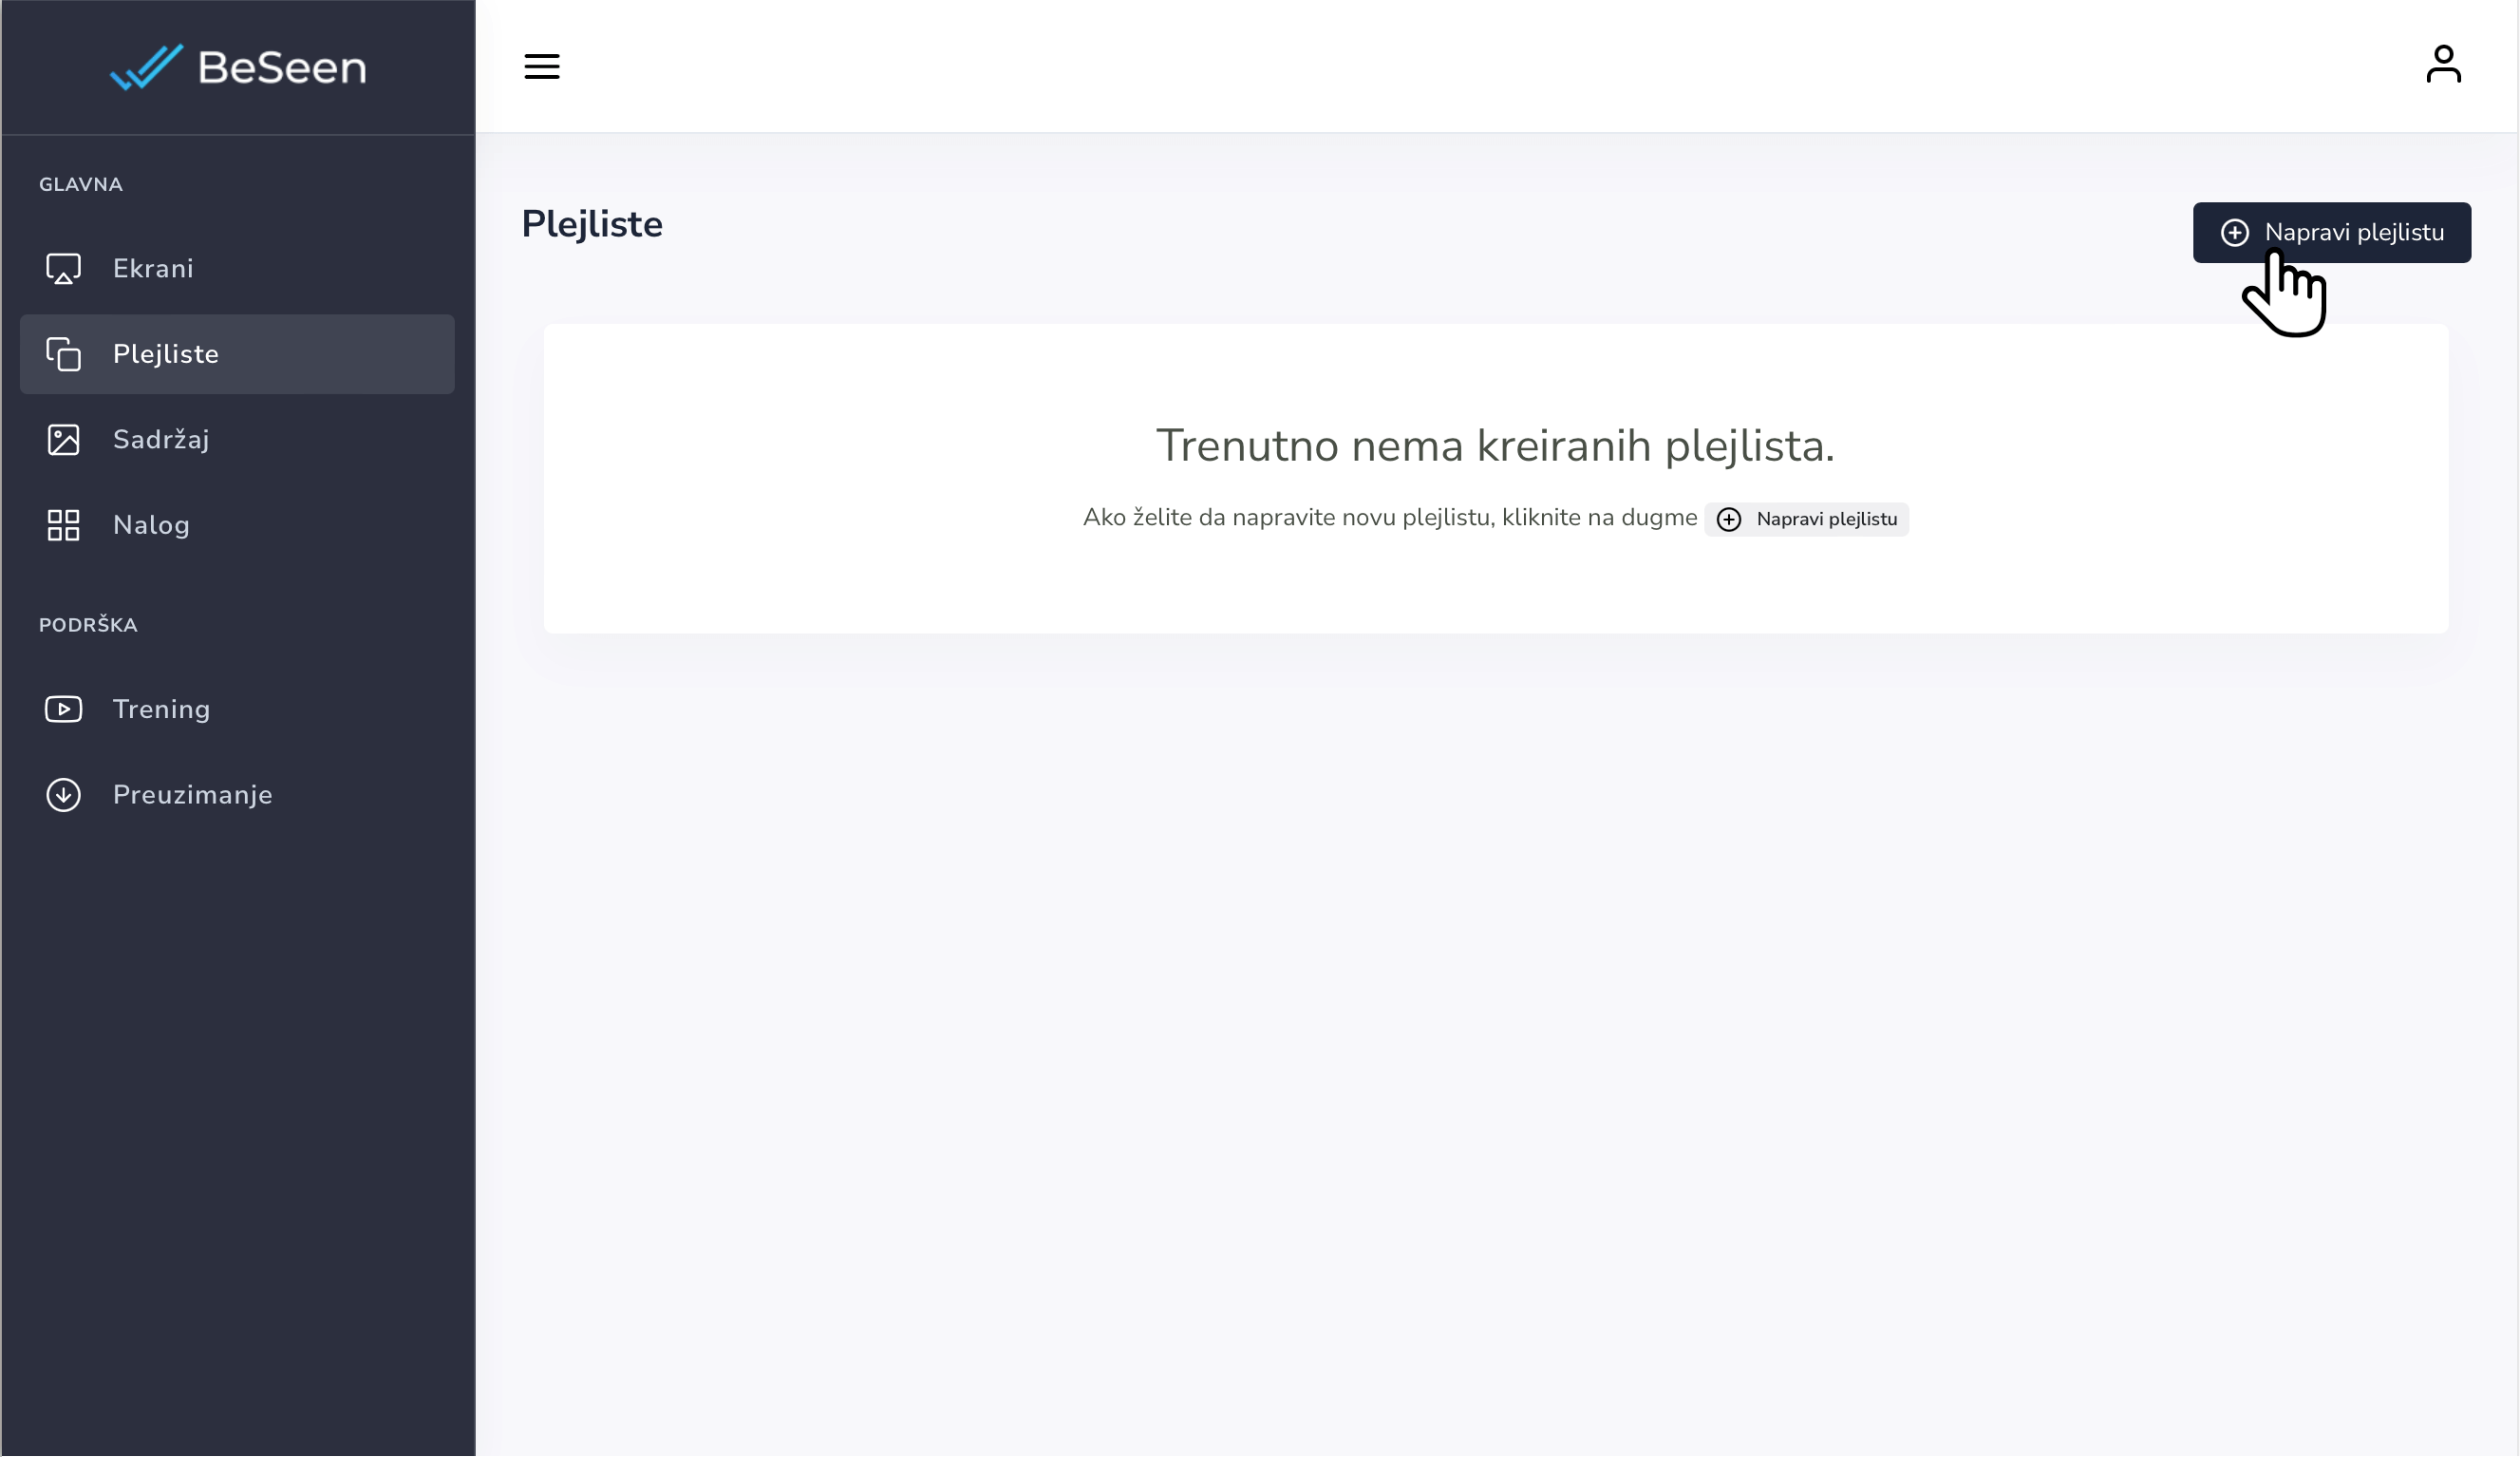
5.1. Click on "Playlists" in the left menu and click on "Create Playlist".
5.2. Name your new playlist by clicking on ![]() button and then you can start adding content.
button and then you can start adding content.
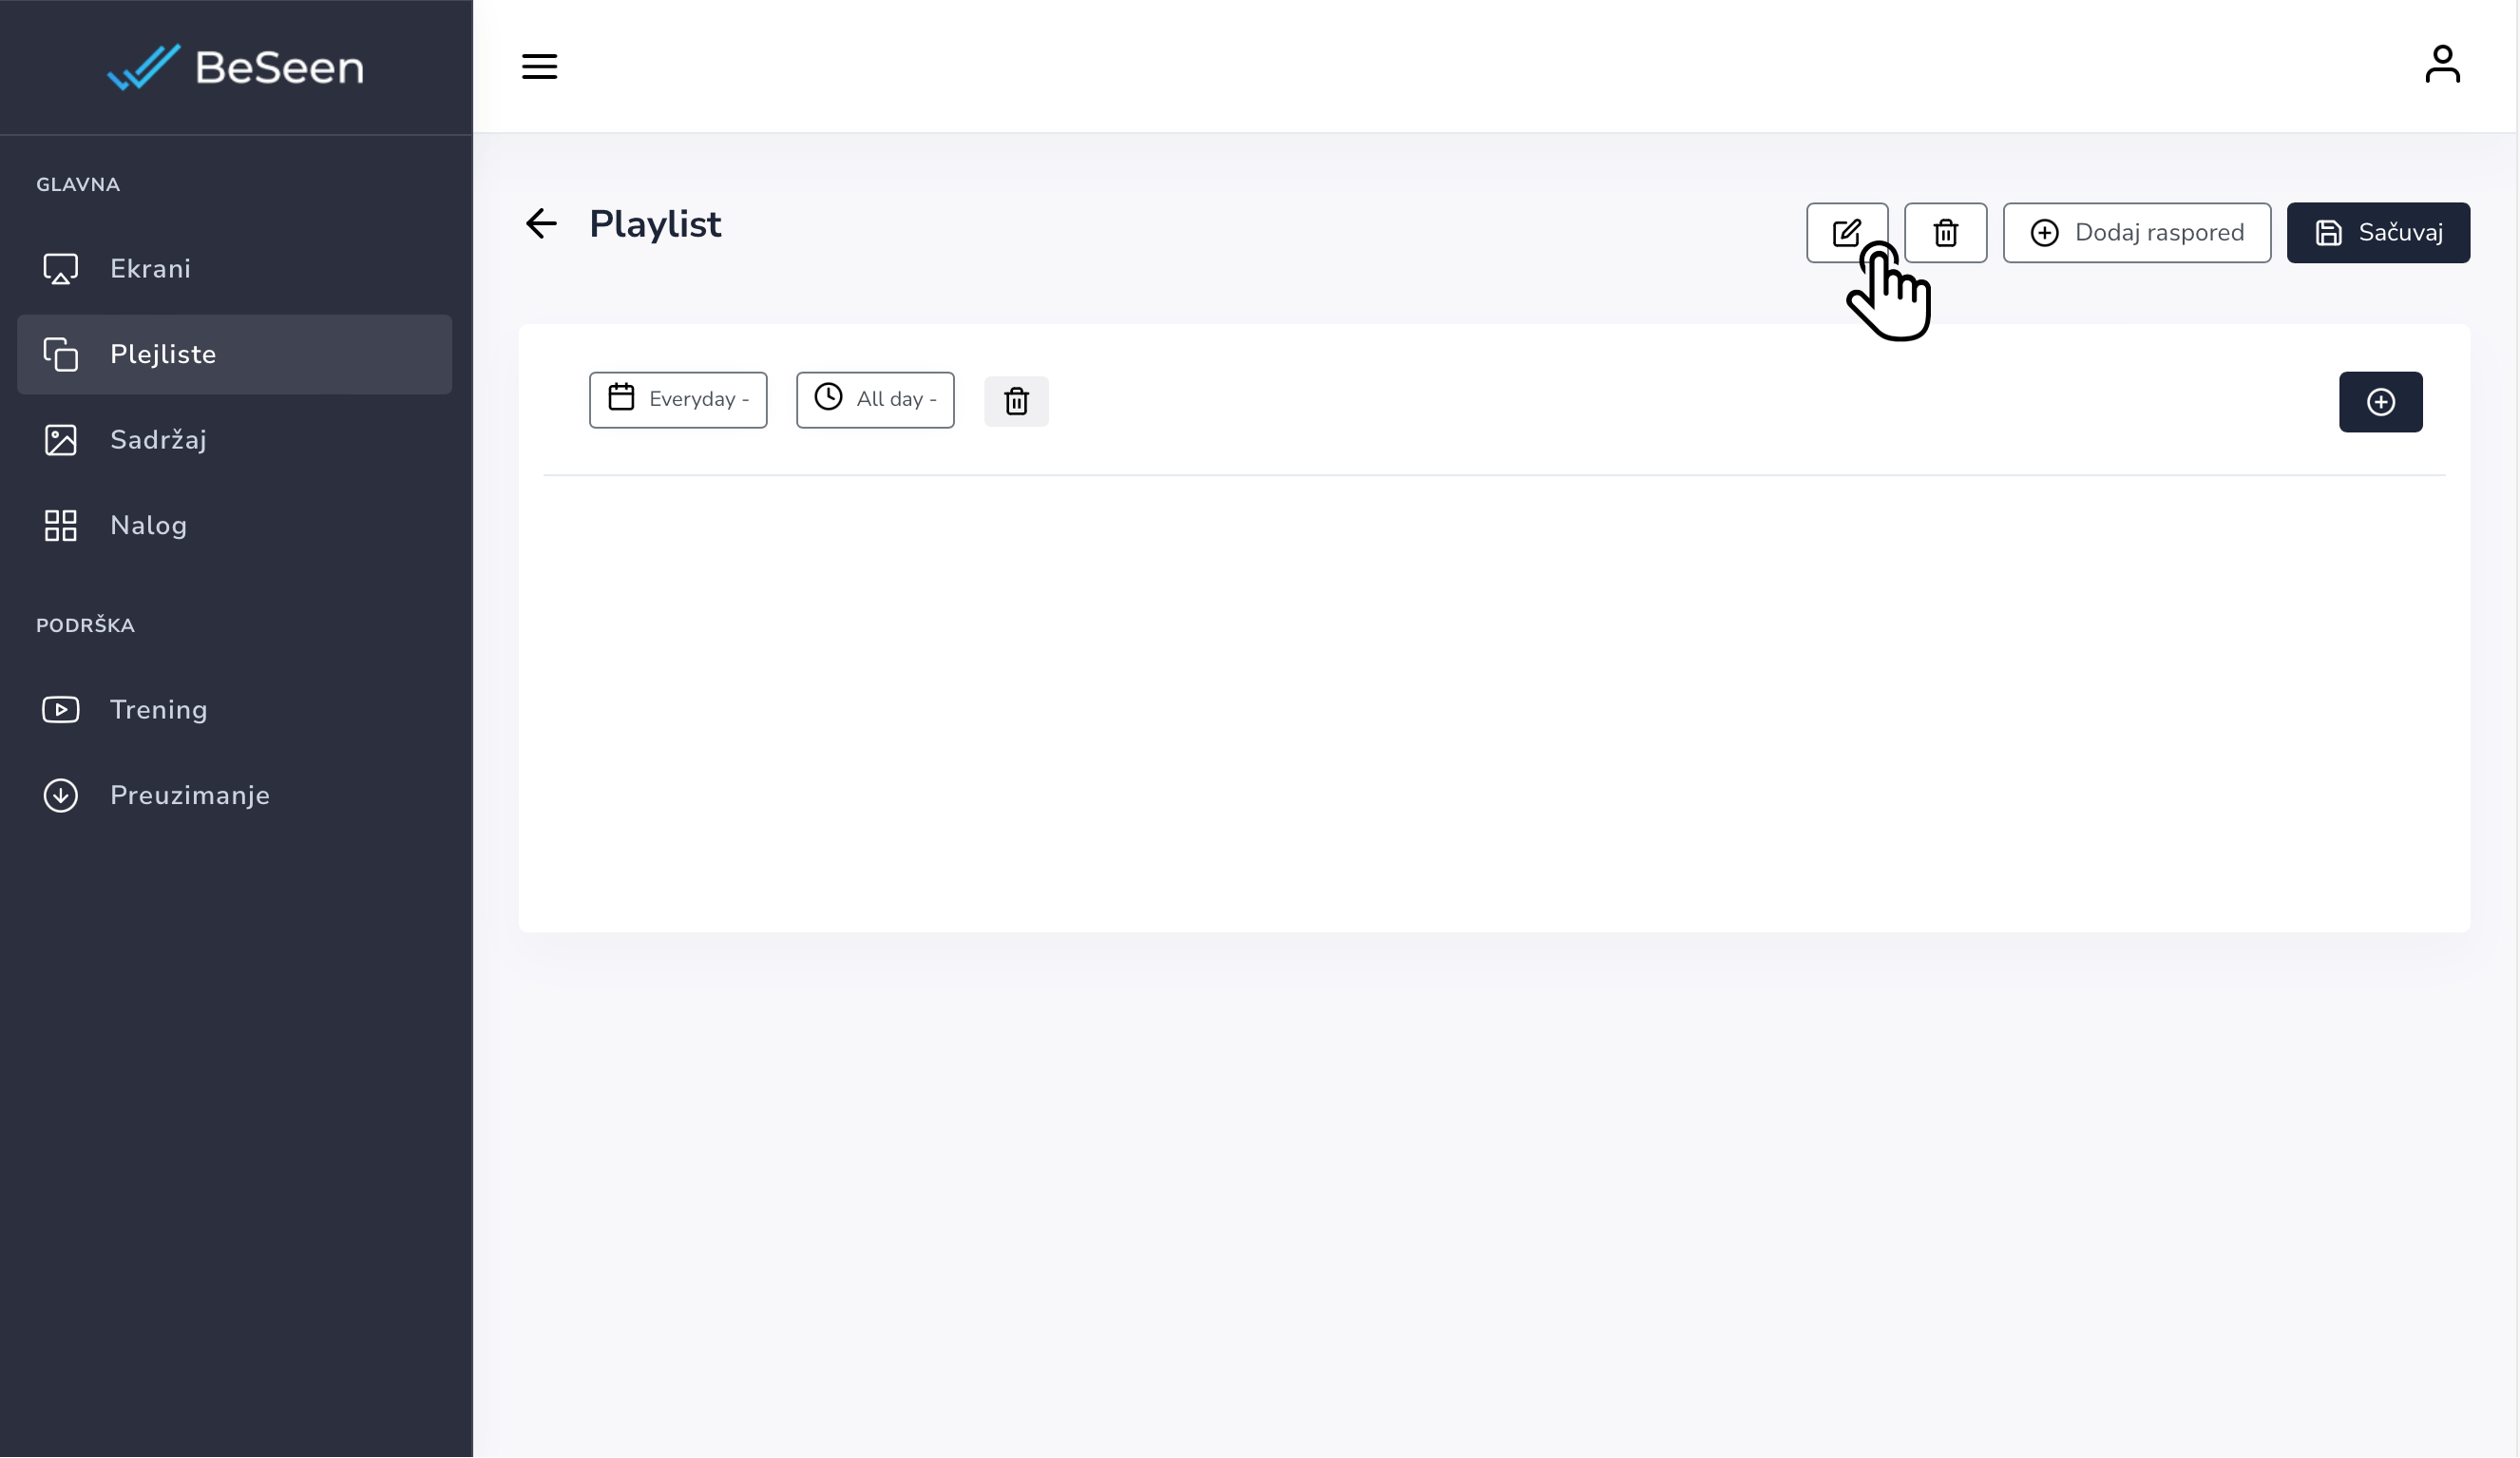
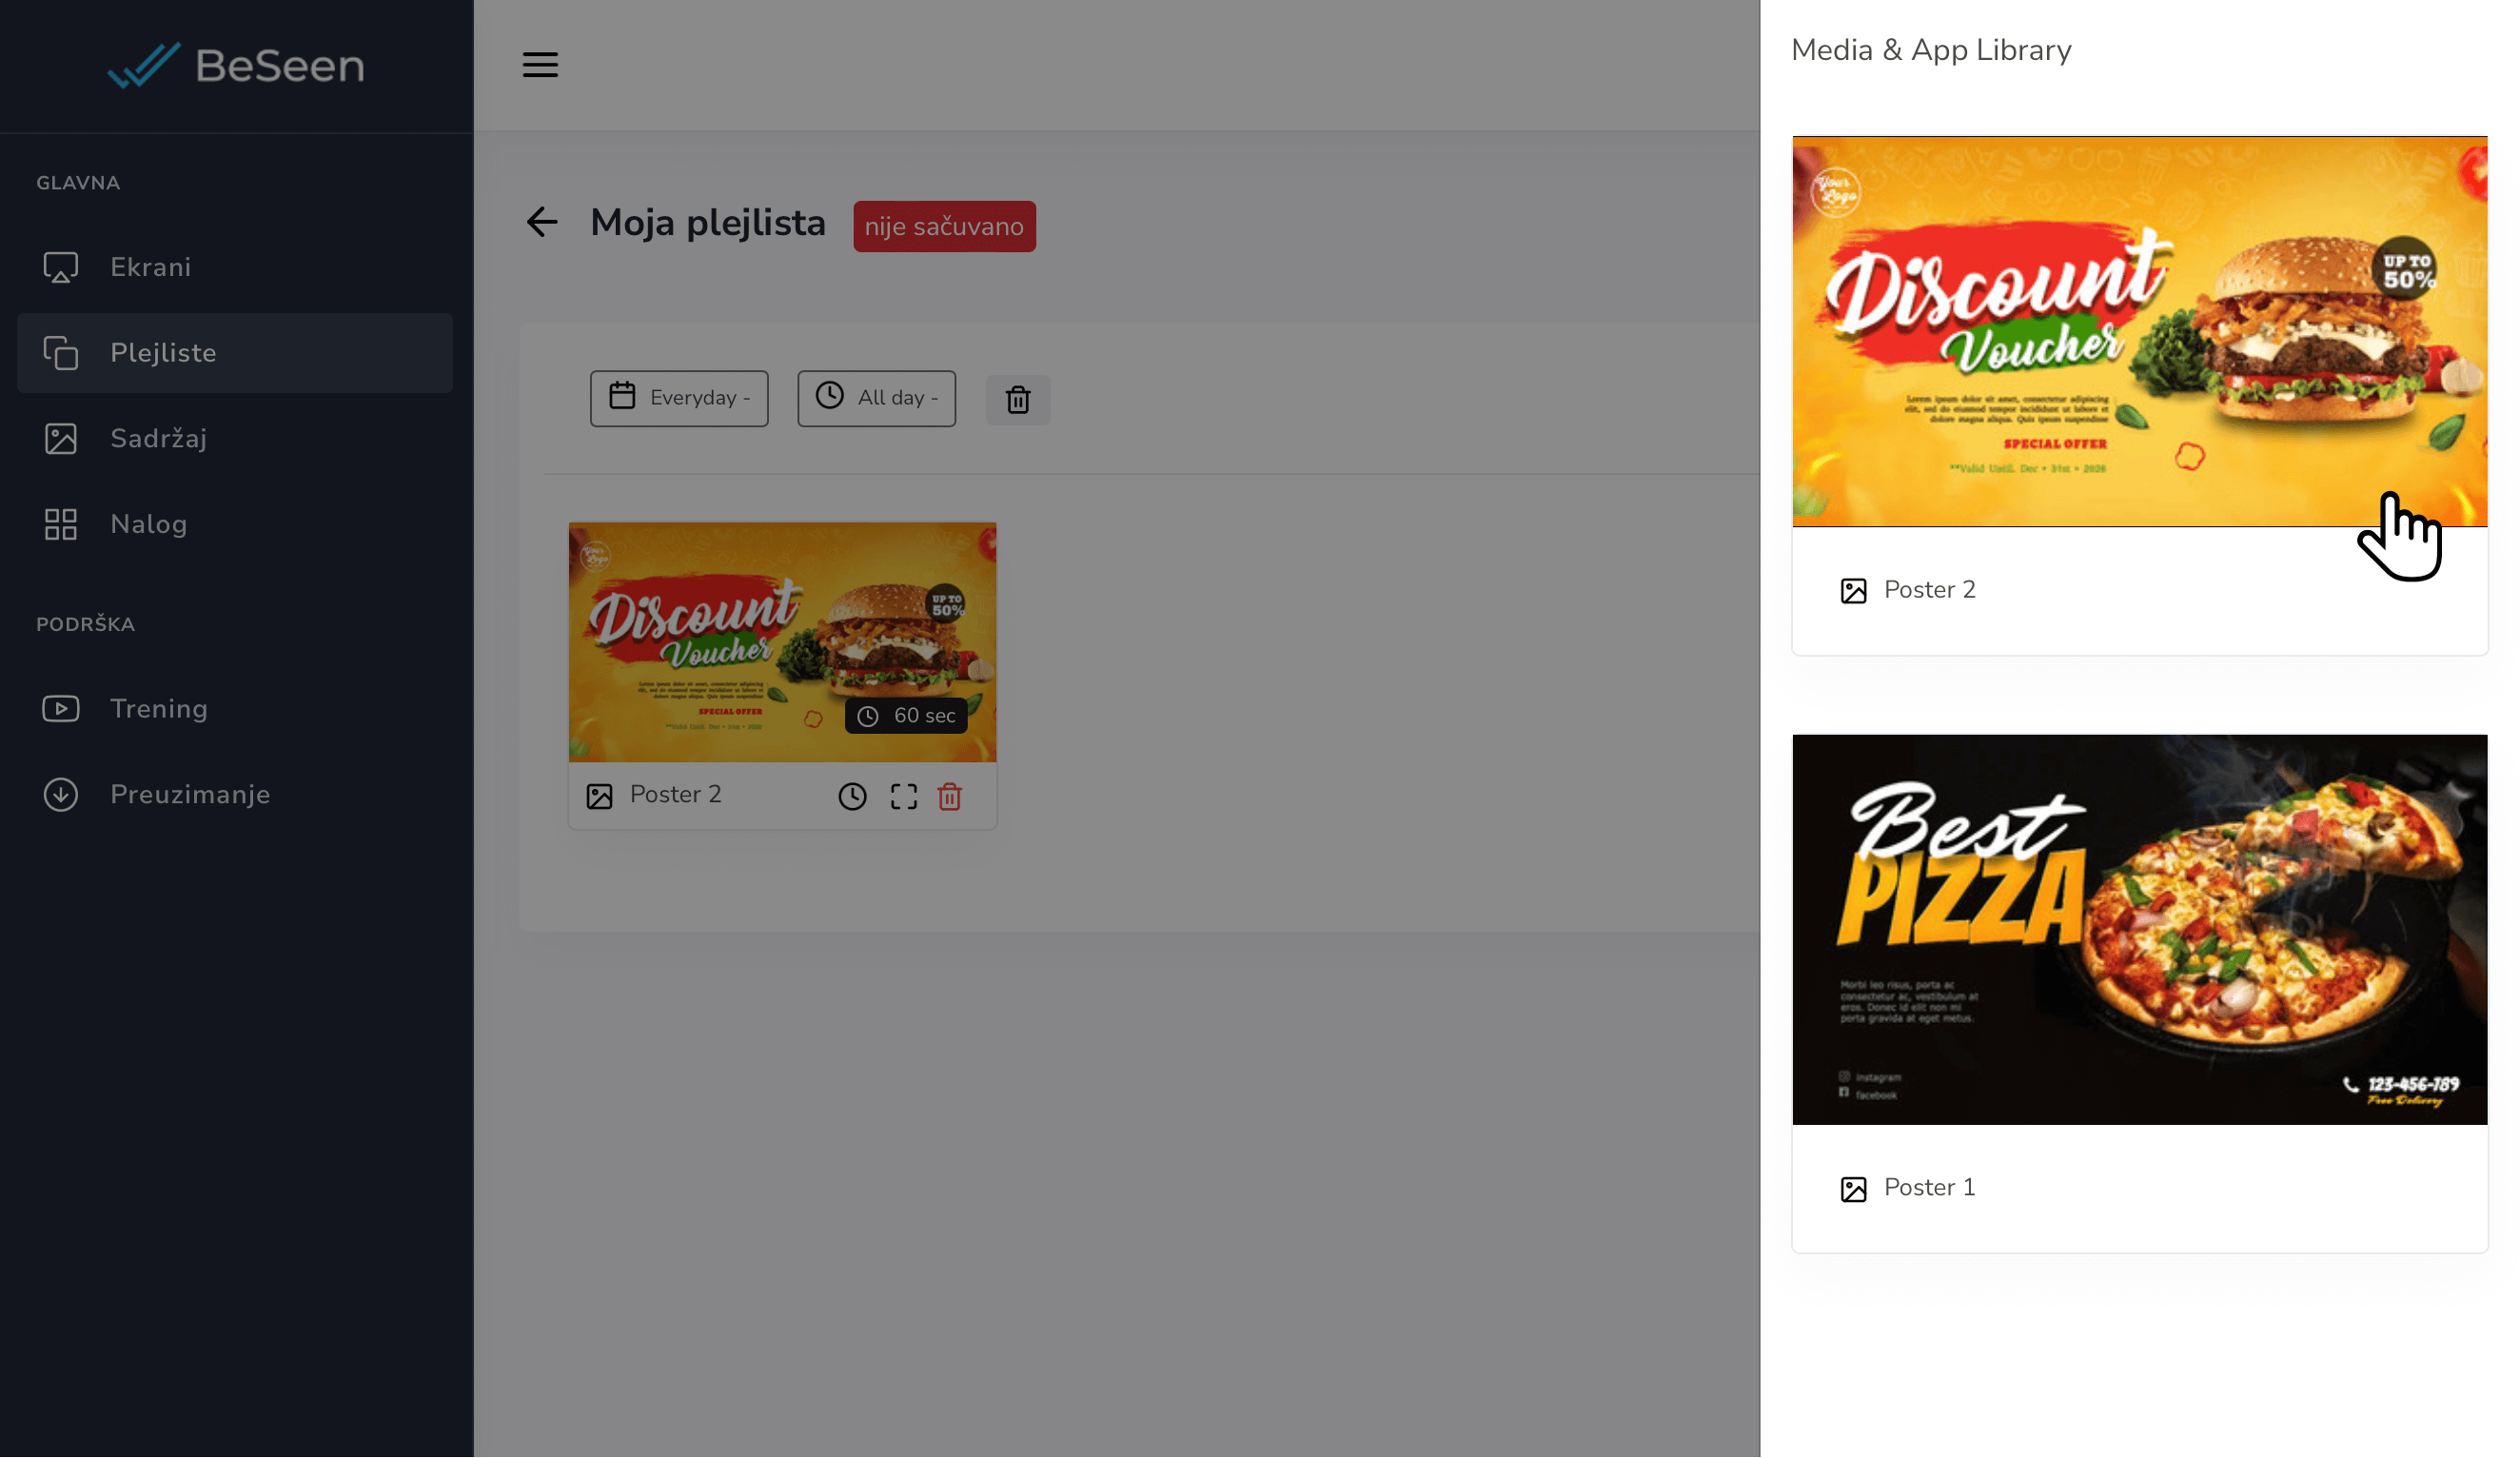
5.3. You can add content by clicking on![]() button. In this case, the menu on the right will open. By clicking on the desired content, you add it to the playlist.
button. In this case, the menu on the right will open. By clicking on the desired content, you add it to the playlist.
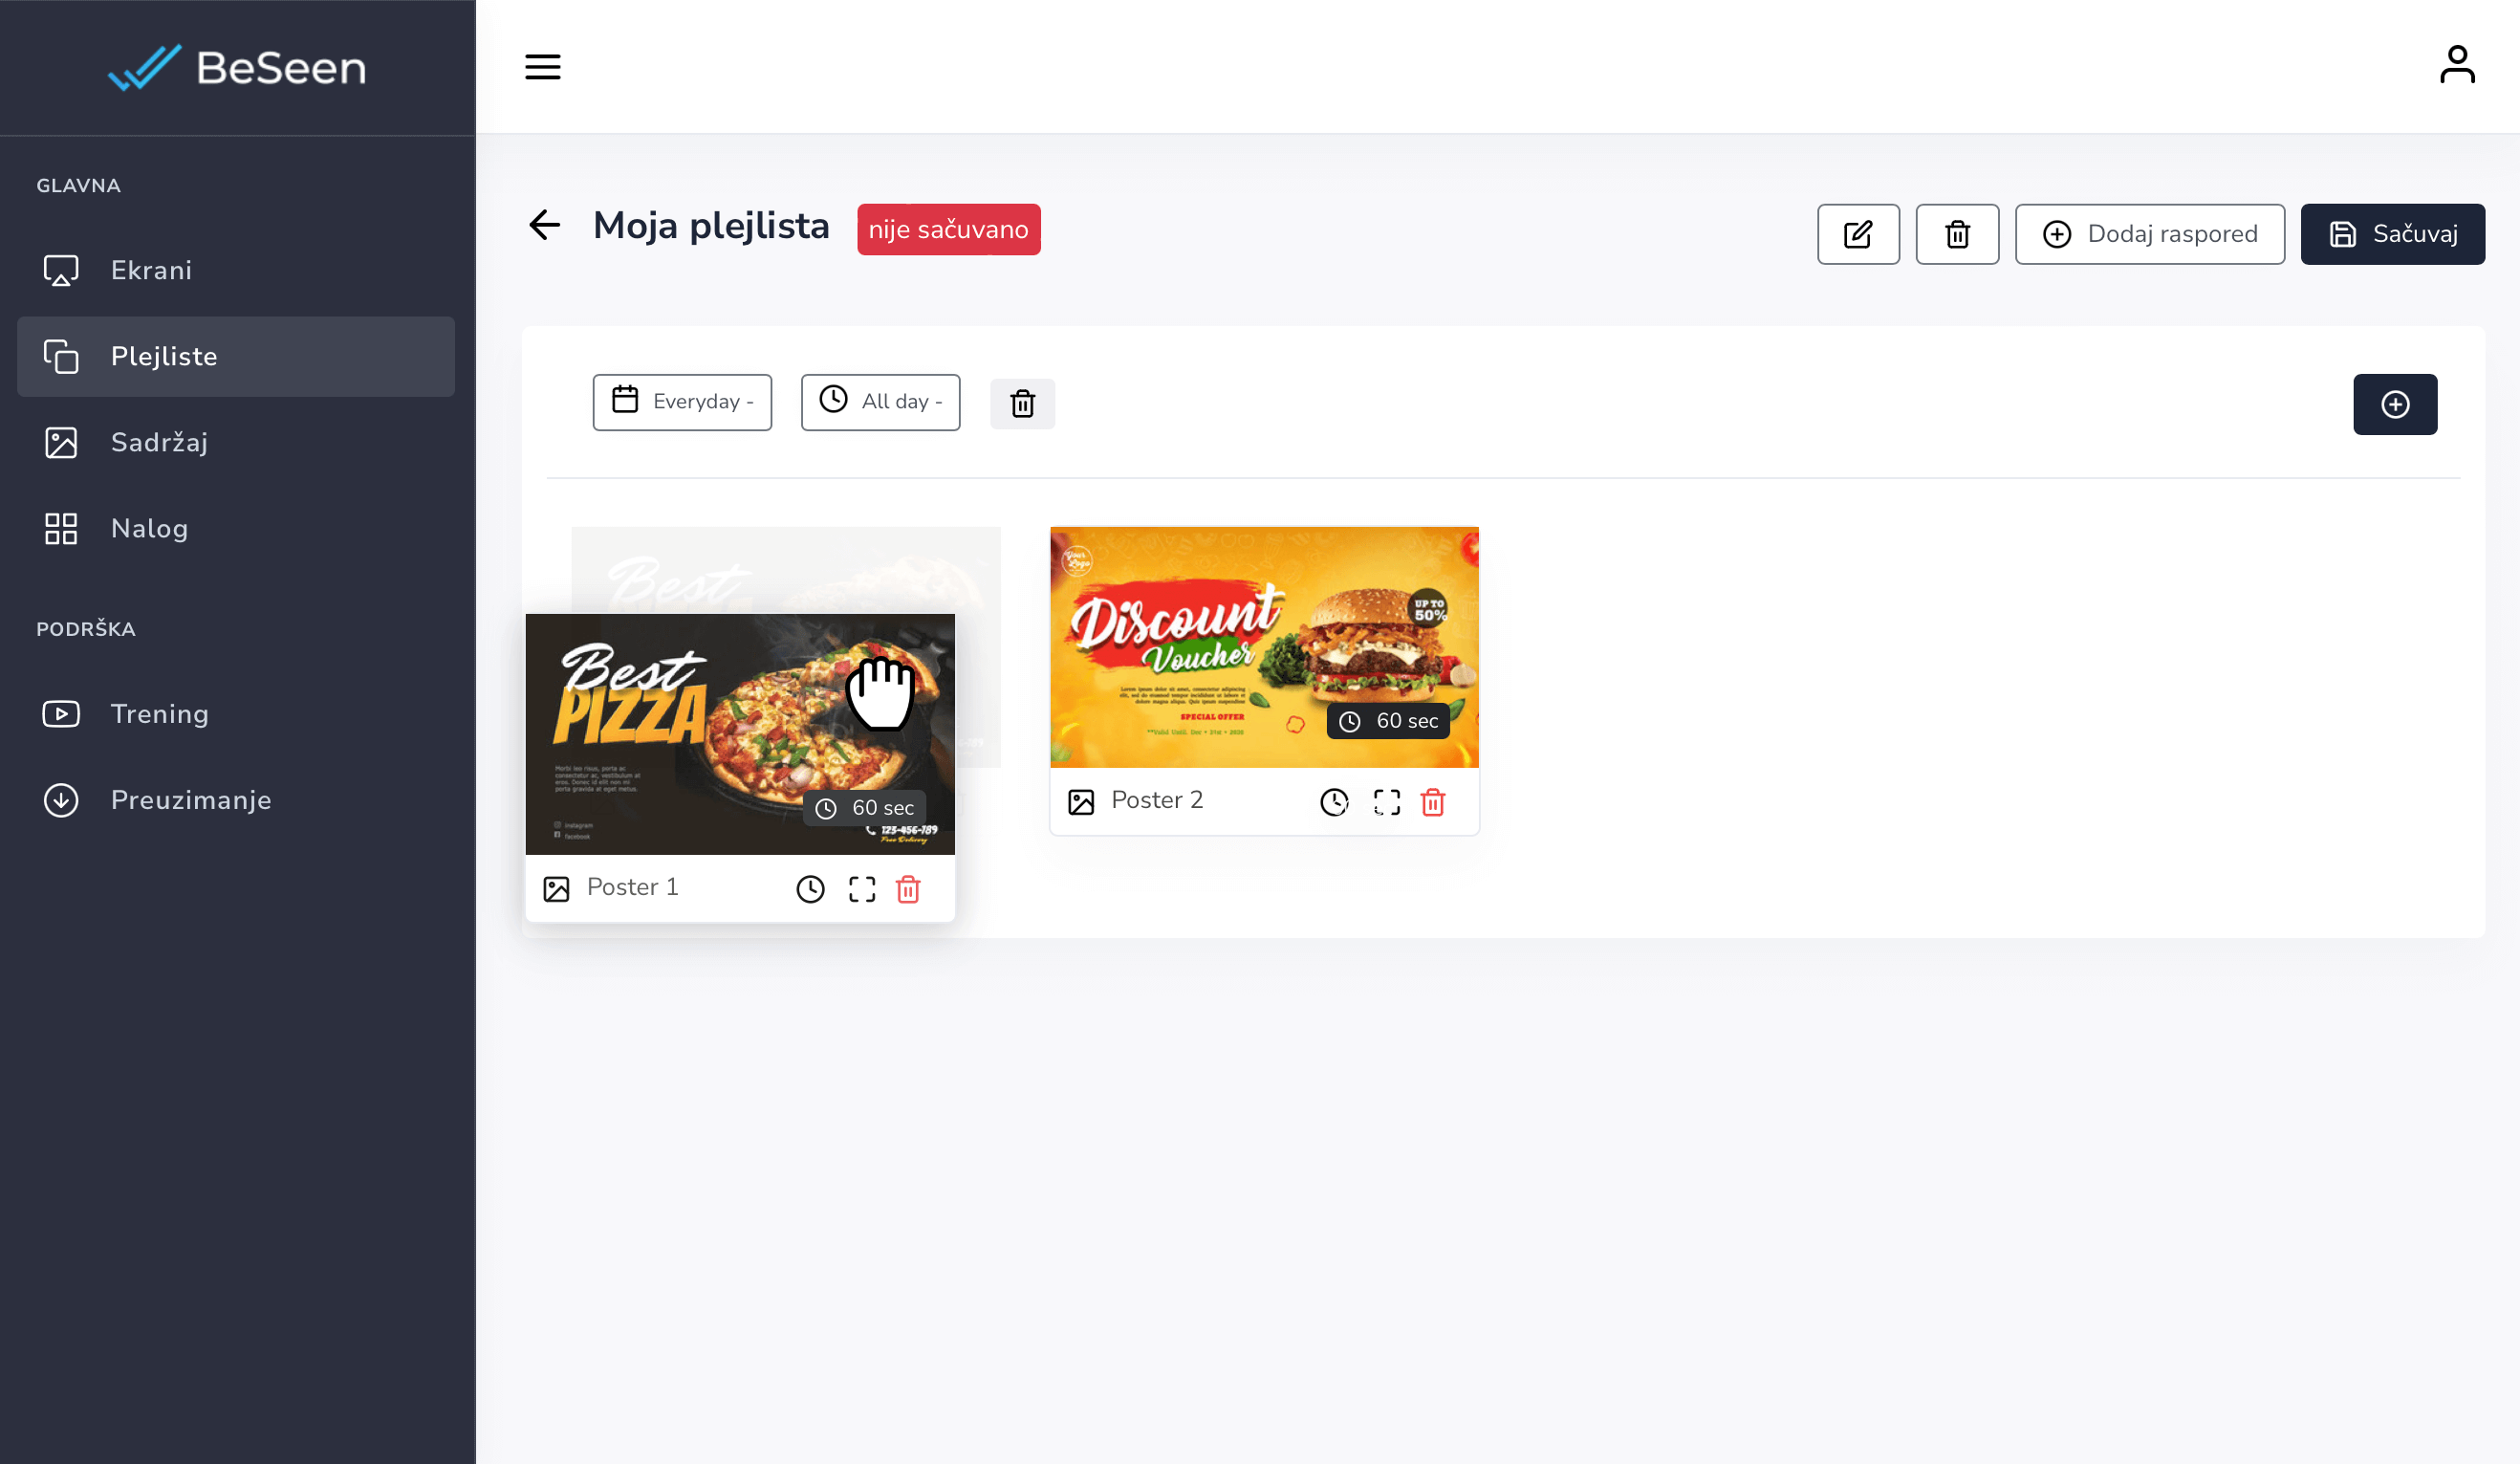
5.4. You can change the order of content display in the playlist by long clicking on the desired content and dragging it to the desired place.
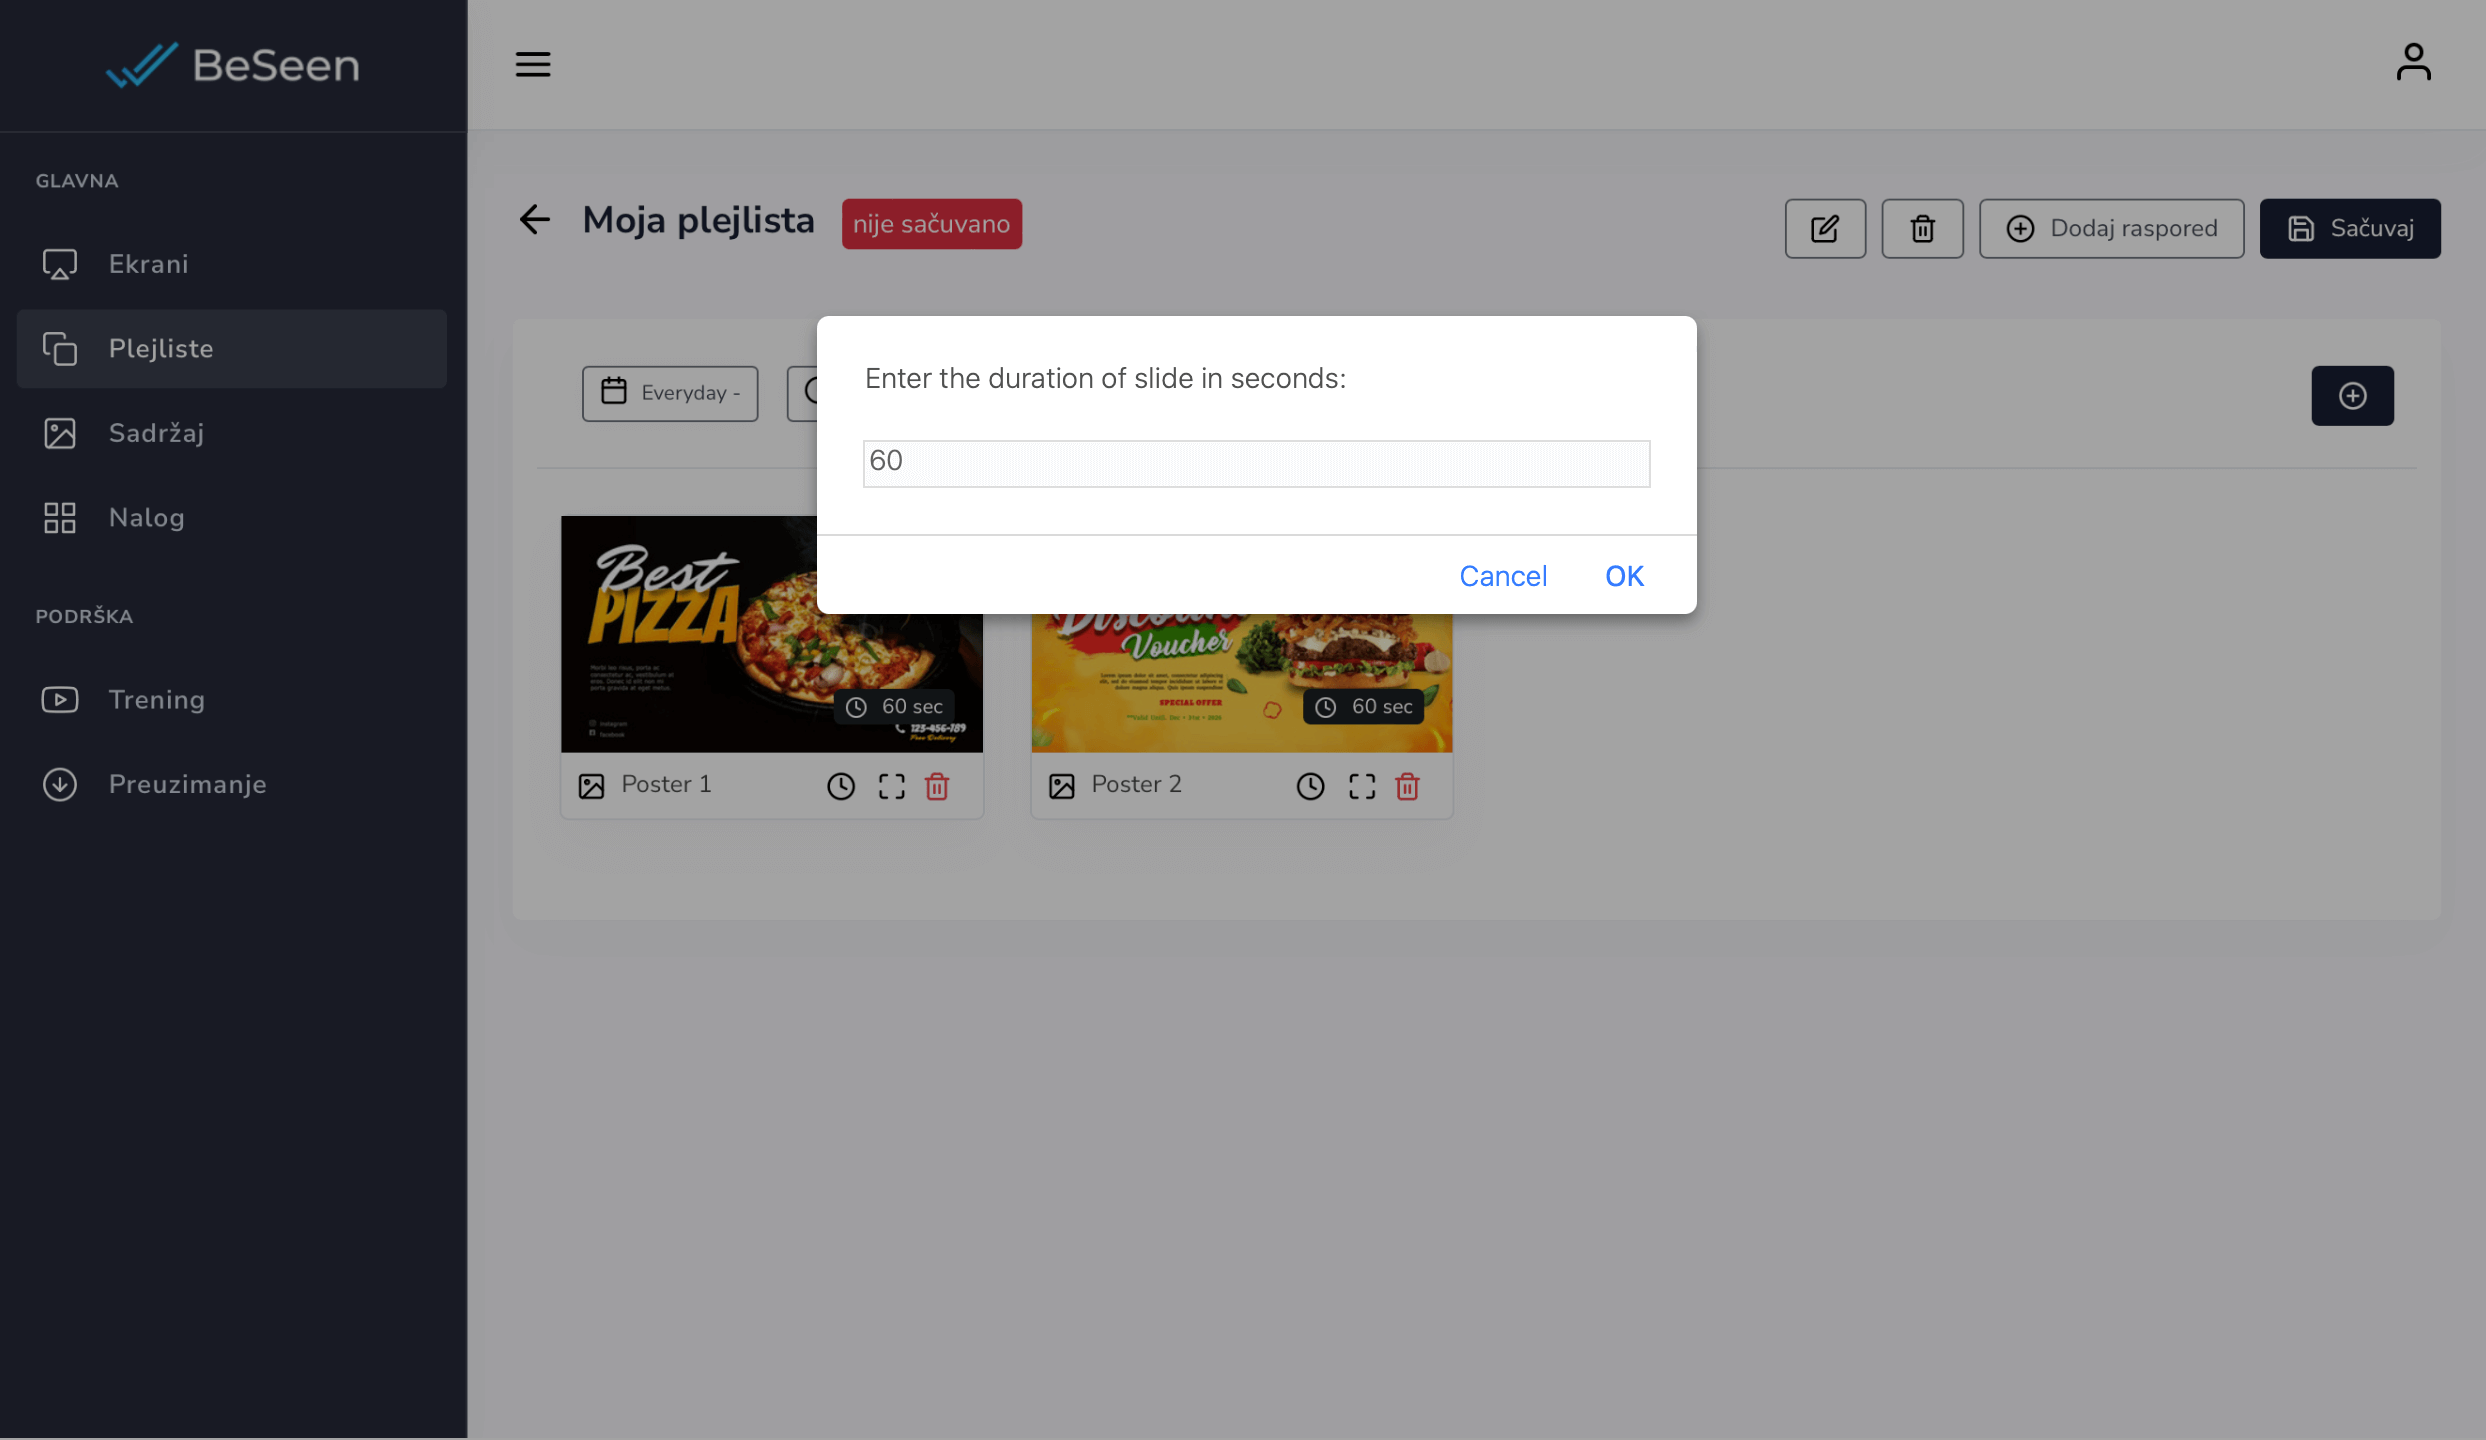
5.5 To change the display duration of any piece of content, click on the time displayed next to each piece of content ![]() on the right and set how long you want it to be displayed.
on the right and set how long you want it to be displayed.
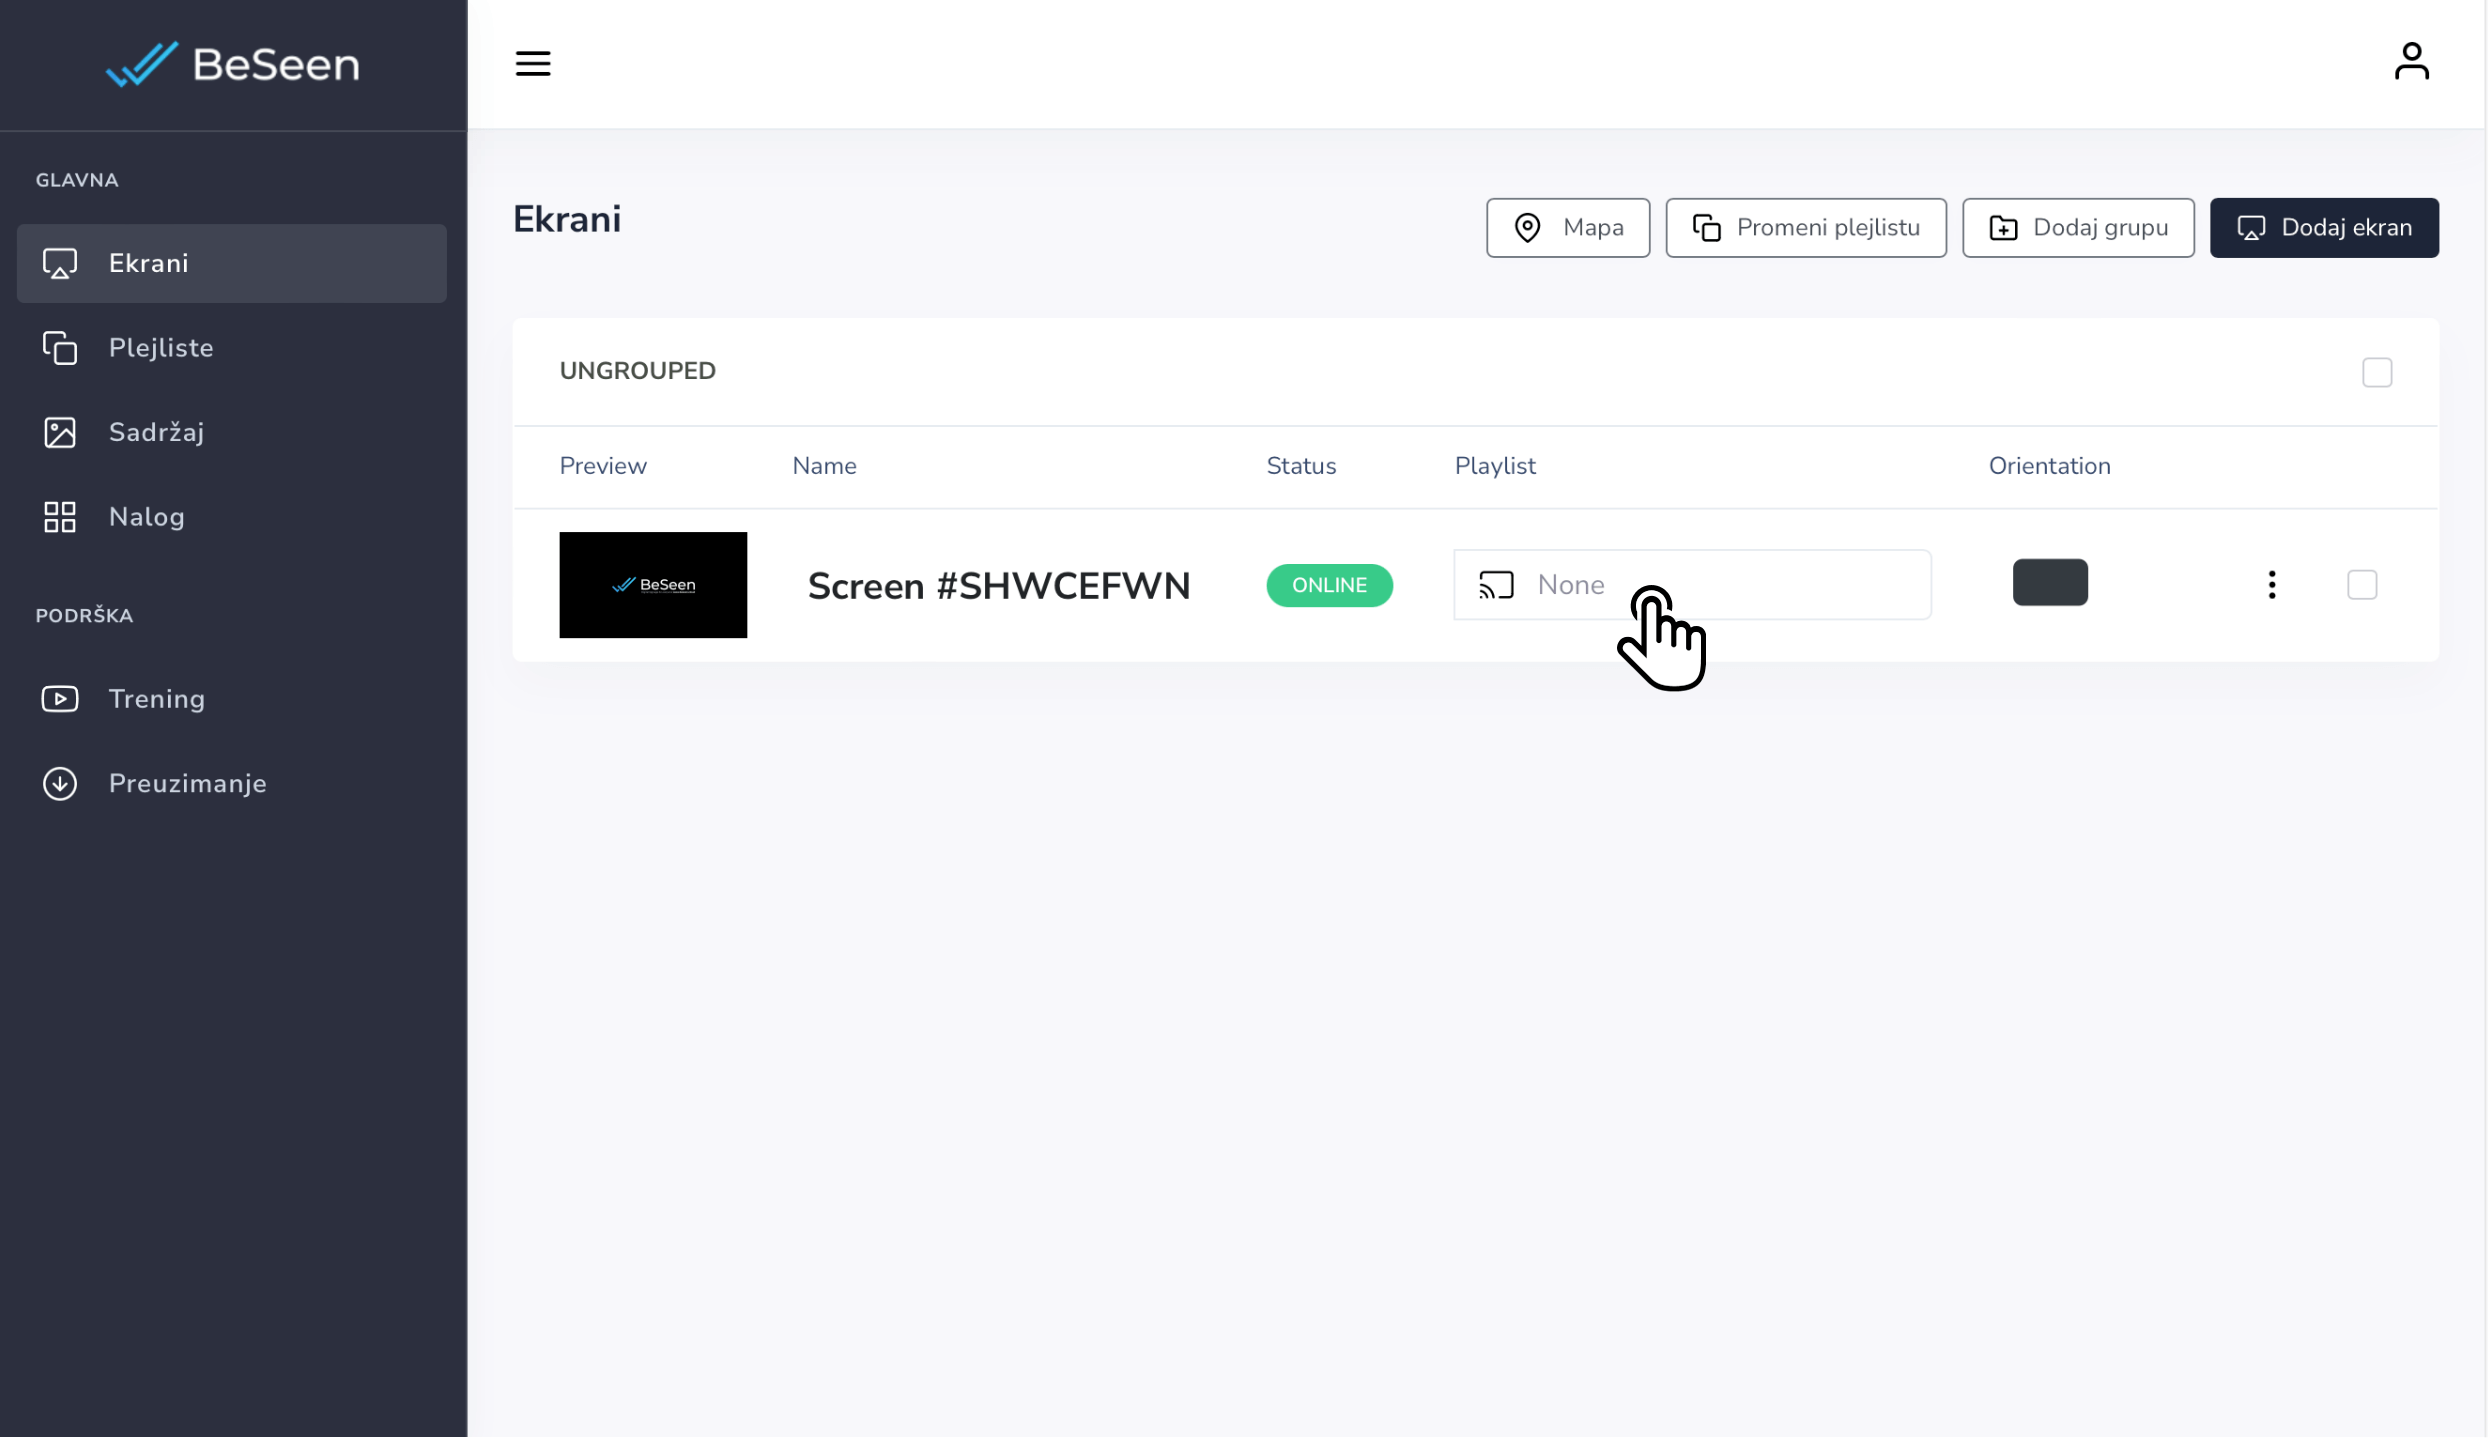
6. Assign content to your screens
6.1. Visit the "Screens" section in the left menu of your BeSeen account and on your previously added device, click on the field to select a playlist with ![]() icon.
icon.
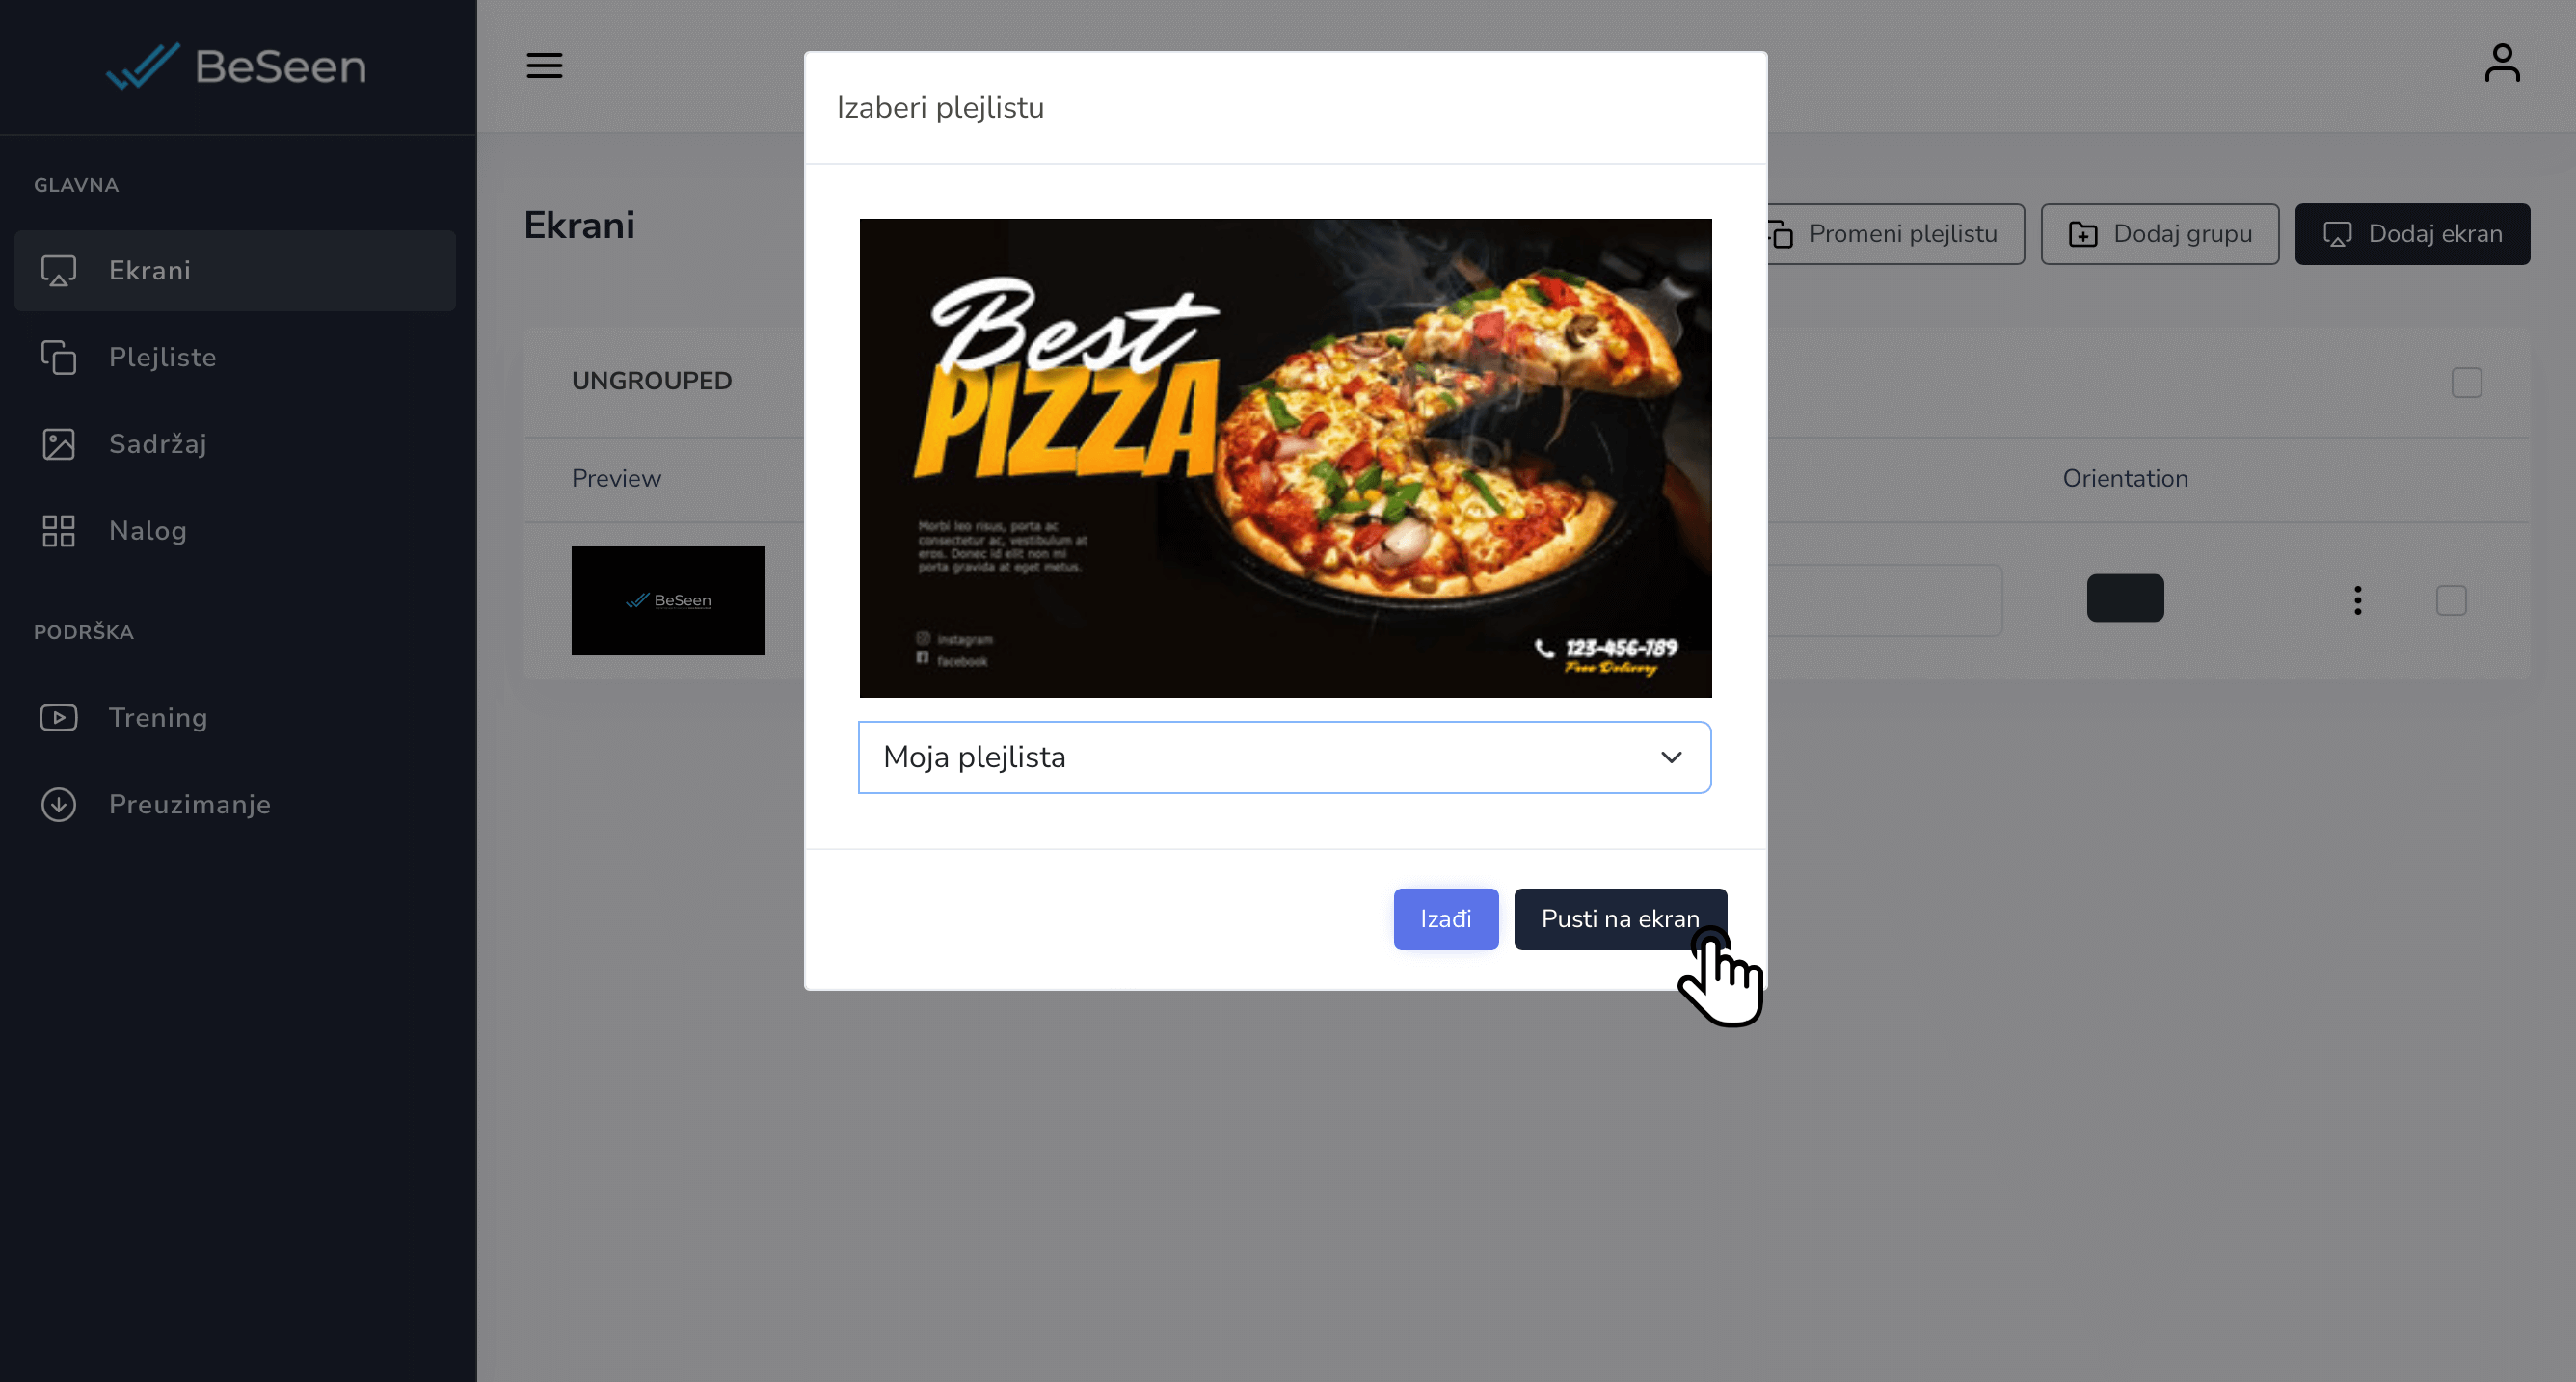
6.2. After that, a new window will open where you can choose which playlist you want to play. And by clicking the button Push to screen your playlist will immediately appear on your device.
Trening
Zdravo i dobrodošli na BeSeen. Mi ćemo vas upoznati korak po korak sa uputstvom koje pokriva kako da uparite ekrane, otpremite sadržaj, kreirate plejliste i pustite ih na ekran.
Pregled sadržaja:
- 1. Izaberite vaš uređaj
- 2. Preuzimanje BeSeen aplikacije
- 3. Dodavanje ekrana
- 4. Dodavanje sadržaja
- 5. Kreiranje plejliste
- 6. Puštanje plejliste na ekran
1. Izaberite vaš uređaj
BeSeen radi na većini multimedijalnih uređaja, pružajući zgodno i fleksibilno rešenje za prikazivanje vaših digitalnih reklama. Podržavamo skoro sve uređaje sa Android operativnim sistemom, od pametnih televizora, tableta, telefona i drugih.
Ovo su neki od primera podržanih uređaja:
- Android TV (televizori sa Android operativnim sistemom)
- Xiaomi Mi Stick
- Xiaomi Mi Box
- Samsung Galaxy Tab tableti
- Google Chromecast with Google TV
- Philips D-Line Professional Displays
- Sony Professional Displays
- Drugi kompatibilni Android uređaji
Većinu ovih uređaja možete pronaći u bolje opremljenim radnjama sa tehnikom.
2. Preuzimanje BeSeen aplikacije
2.1. Nakon što ste nabavili vaš uređaj, možete preuzeti BeSeen aplikaciju na dva načina, preko Google Play Store-a ili direktnim preuzimanjem aplikacije.
2.1.a Instalacija preko Google Play Store: da bi ste preuzeli aplikaciju na vaš uređaj putem Google Play prodavnice potrebno je da ukucate "BeSeen" u pretrazi prodavnice i da kliknete na "Install".
2.1.b Ručna instalacija: ukucajte https://beseen.cloud/app.apk u pretraživač na vašem Android uređaju za direktno preuzimanje aplikacije ili kliknite na "BeSeen APK" dugme ispod.
2.2. Nakon što preuzmete i instalirate BeSeen aplikaciju na svom uređaju, pokrenite je da biste videli kôd za uparivanje koji će se koristiti za povezivanje ekrana sa vašim nalogom na https://my.beseen.cloud/screens.html
3. Dodavanje ekrana
Nakon preuzimanja aplikacije BeSeen na svoj uređaj, sledeći korak je dodavanje ekrana i korišćenje kôda za uparivanje prikazanog na ekranu.
3.1. Posetite odeljak „Ekrani“ u levom meniju vašeg BeSeen naloga. Nakon toga možete da kliknete na „Dodaj ekran“ da biste započeli.
3.2. Zatim unesite svoj kôd za uparivanje od 8 znakova tačno onako kako se pojavio na ekranu.
3.3 Ako je kôd tačan, prozor će se ponovo učitati sa informacijama o vašem BeSeen plejeru, a sa desne strane će vam pružiti opcije za podešavanje ekrana.
4. Dodavanje sadržaja
4.1 Započnite tako što ćete otpremiti sadržaj u svoju biblioteku medija. Posetite odeljak "Sadržaj" u levom meniju vašeg BeSeen naloga.
4.2. Kliknite na dugme „Otpremi“ i možete da počnete da otpremate svoje medije. Podržani su sledeći formati: .PNG/.JPG/.JPEG (do 10mb) i .MP4 (do 100mb)
4.3. Nakon što otpremite sadržaj, on će biti dostupan za korišćenje u vašoj biblioteci medija.
5. Kreiranje plejliste
Plejliste se koriste za organizovanje vašeg sadržaja i reprodukciju svega onim redosledom kojim želite da ga vidite na ekranu.
5.1. U levom meniju pritisnite „Plejliste“ i kliknite na „Napravi plejlistu“.
5.2. Imenujte svoju novu plejlistu klikom na ![]() dugme, a zatim možete da počnete da dodajete sadržaj.
dugme, a zatim možete da počnete da dodajete sadržaj.
5.3. Sadržaj dodajete klikom na ![]() dugme. Tom prilikom će vam se otvoriti meni sa desne strane. Klikom na željeni sadržaj dodajete ga u plejlistu.
dugme. Tom prilikom će vam se otvoriti meni sa desne strane. Klikom na željeni sadržaj dodajete ga u plejlistu.
5.4. Redosled prikazivanja sadržaja u plejlisti možete promeniti dugim klikom na željeni sadržaj i njegovim prevlačenjem na željeno mesto.
5.5 Da biste promenili trajanje prikazivanja bilo kog sadržaja, kliknite na vreme prikazano pored svakog dela sadržaja ![]() sa desne strane i podesite koliko dugo želite da se prikazuje.
sa desne strane i podesite koliko dugo želite da se prikazuje.
6. Puštanje plejliste na ekran
6.1. Posetite odeljak „Ekrani“ u levom meniju vašeg BeSeen naloga i na vašem prethodno dodatom uređaju kliknete na polje za odabir plejliste sa ![]() ikonicom.
ikonicom.
6.2. Nakon toga otvoriće vam se novi prozor gde možete da izaberete koju plejlistu želite da pustite. I klikom na dugme Pusti na ekran vaša plejlista će se odmah prikazati na vašem uređaju.